XoT Configuration
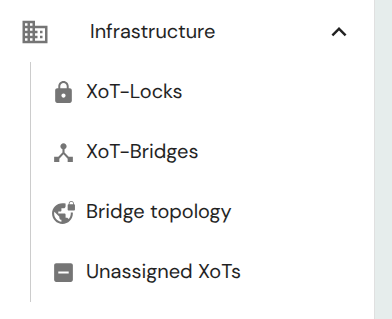
XoTs can be managed by navigating to the pages in the Infrastructure section of the main menu. When an XoT has been enrolled it will appear on the unassigned list until it has been configured as an XoT-Lock, by adding an asset (device or subnet) to it, or by enabling Bridge Mode in the Bridge tab, thus making it an XoT-Bridge.
Overview
Connected assets
From the XoT Overview tab you can assign assets, devices or subnets to the XoT. You can either assign a single device directly to an XoT (single device mode) or assign one or multiple subnets.
The assignment of an asset to an XoT is what makes it an XoT-Lock.
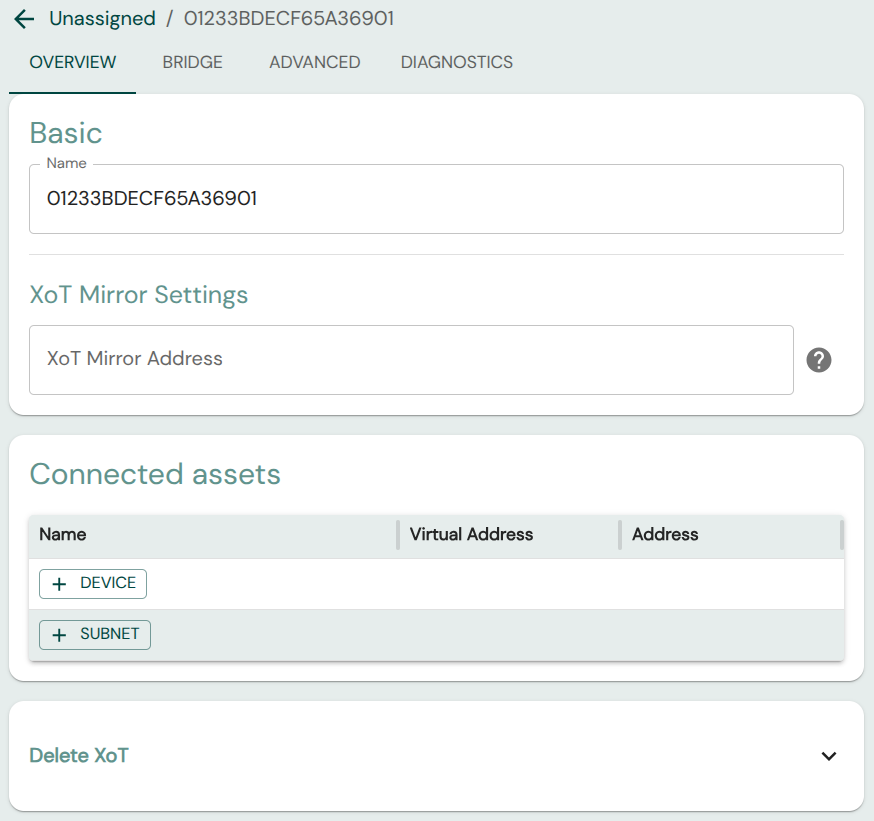
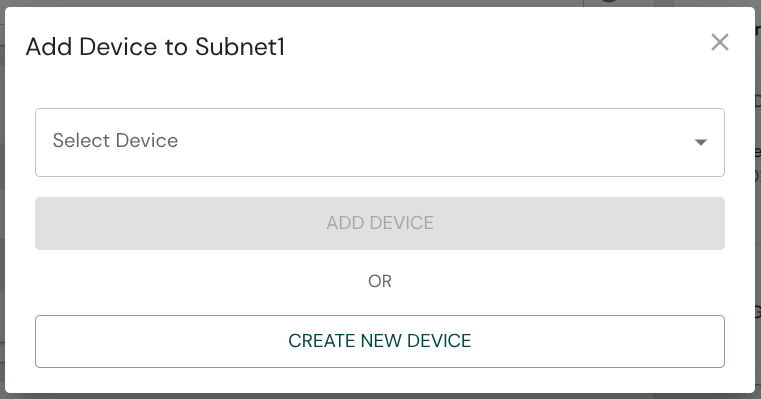
You can click on the +Device or +Subnet buttons to assign existing, or create and assign new assets to the XoT. Doing so will bring up appropriate modals for asset creation/assignment:
Mirroring
From the Overview page you can also set an XoT Mirror Address to where the XoT will mirror all traffic so that it can be monitored.
Bridge Configuration
From the Bridge tab you can assign XoT-Locks to Bridge Groups or configure XoTs as XoT-Bridges.
If you are configuring an XoT-Lock and want assets protected by it to be reachable via a Bridge Group you can simply assign it here without toggling Bridge Mode.
If you want to configure the XoT as an XoT-Bridge, or are unsure how to create Bridge Groups, see the XoT-Bridge configuration article.
Advanced
On the Advanced tab, some additional settings are available:
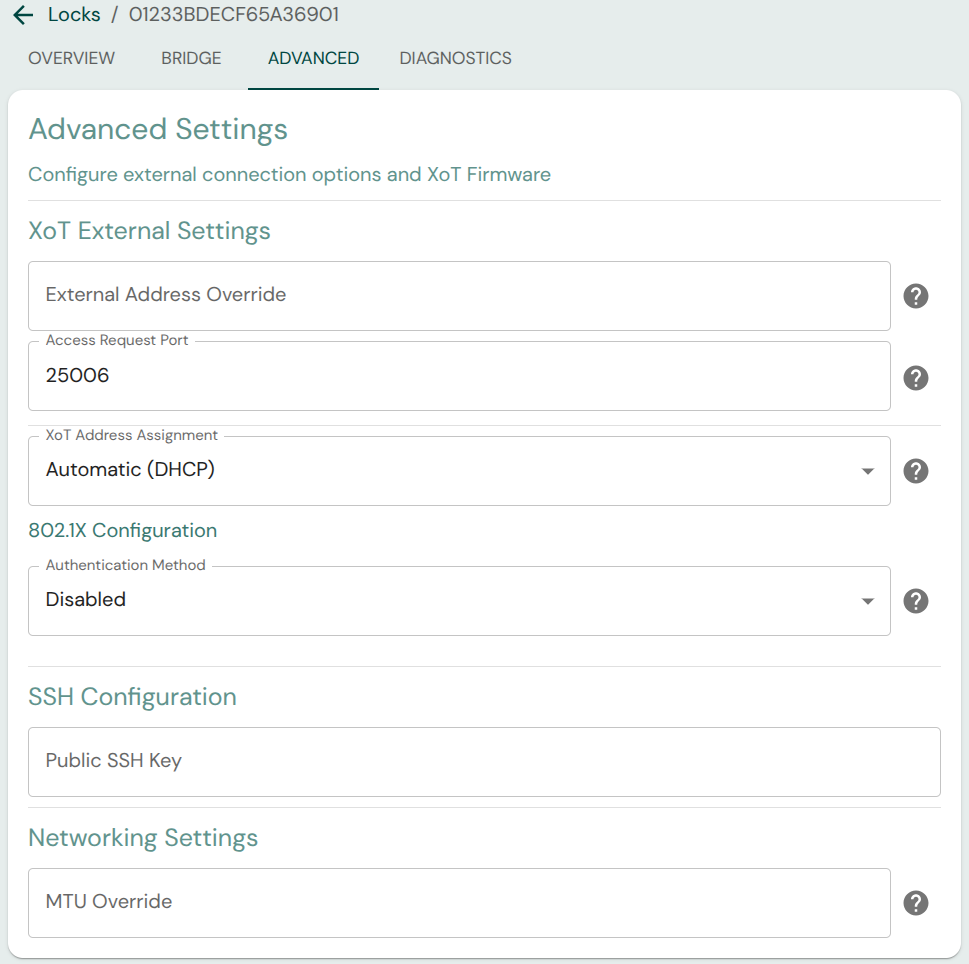
- External Address Override: If the routable IP to reach the XoT is not the IP that the XoT itself sees on its external interface, the IP through which it can be accessed may be set here.
- Access Request Port: The port on which the XoT shall receive requests for access from clients.
- XoT Address Assignment: Whether the XoT should obtain its external-side address via DHCP or through static assignment. When DHCP is used, the XoT reports its XoT ID as the DHCP hostname and can also install routes supplied through DHCP options 33 and 121.
- 802.1X Configuration: Set 802.1X authentication settings
- SSH Configuration: Public key for SSH access to XoT. SSH is only available when using development/testing firmware and does not affect release versions.
- MTU Override: Specify a custom Maximum Transmission Unit (MTU) for the external interface. If left blank, the interface uses the MTU provided by the DHCP server (option 26). If none is provided, it falls back to the link default (1500 bytes for standard Ethernet).
- DHCP server ignores client id: Enabling this setting will make the XoT use the MAC address as client id when making requests to the DHCP server.
- Firmware Group: The firmware group determines which firmware is retrieved by the XoT. Firmware images are managed on Admin -> Firmware Images, where Superadmins can upload firmware, see the current version and upload time for each label, and see how many XoTs are assigned to each label. Labels can only be deleted when no XoTs are assigned to them, and the default
alllabel cannot be deleted.
Labels that use evaluation firmware are marked in XMS and also generate a dashboard notification. Evaluation firmware is intended for initial deployment and troubleshooting. Move XoTs back to a label with regular firmware after the evaluation is complete.
Diagnostic settings
The Advanced tab also includes Diagnostic Settings.
- Dummy Asset: Enables a virtual pingable asset on each subnet configured on the XoT device-side interface. The last usable address before the broadcast address is used, for example
192.168.1.254on a/24subnet. This is useful for verifying connectivity after installation or during troubleshooting without requiring a physical asset to be connected.
Diagnostics
The diagnostics tab presents various information that can be used to verify that everything is set up as intended or to help troubleshooting if not.
The Request Diagnostics from XoT allow you to retrieve current networking, firewall, and WireGuard configuration from the XoT.