Microsoft Entra ID Integration for XMS
Use this guide when XMS should authenticate users and/or synchronize users and groups from Microsoft Entra ID (Azure AD).
If you selected
Microsoft Entra IDas user source during XMS setup, XMS already prepares thedirectory-synctemplate for Azure. You can also runscripts/entra-id-sync-setup.shon the XMS host to configure sync interactively.
1. Authentication Setup (OIDC)
1.1 Create an App Registration
In Azure Portal:
- Go to App registrations and select New registration.
- Name it (for example
xms-auth). - For supported account types, choose Accounts in this organizational directory only (single tenant).
- Set Redirect URI platform to Web.
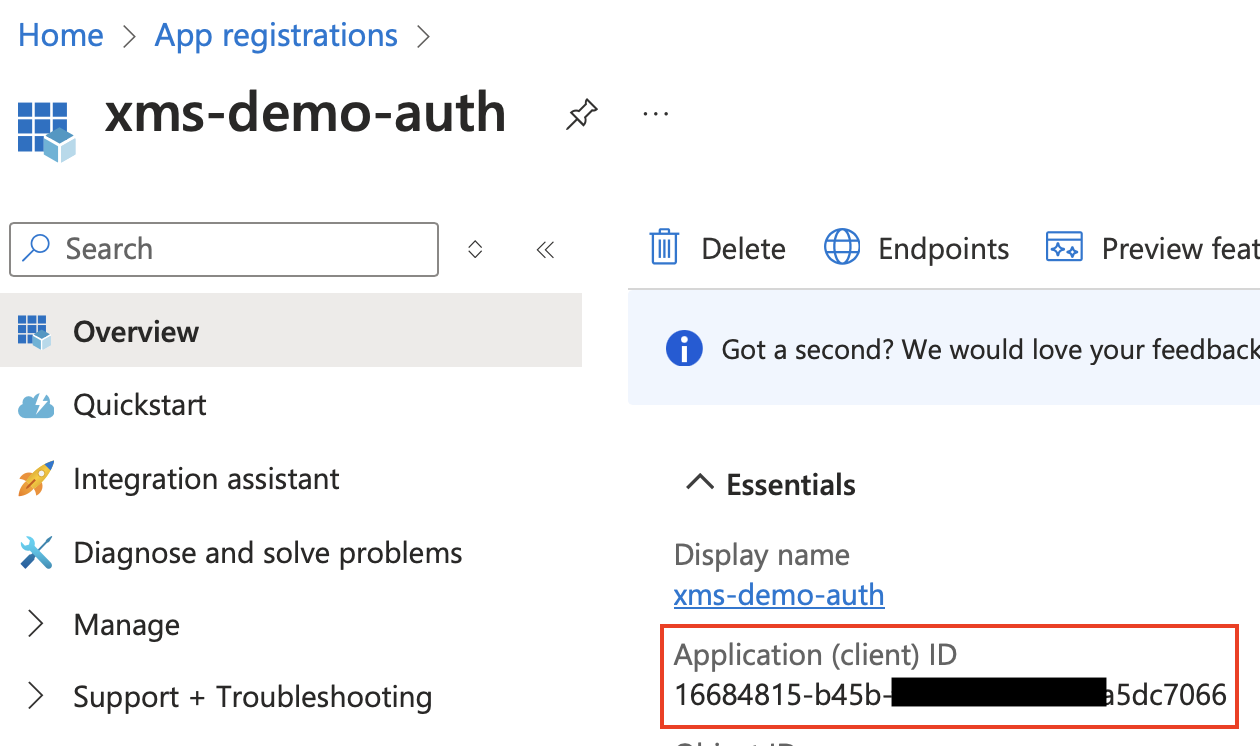
1.2 Note the Application (Client) ID
Save the Application (client) ID. You will use it when configuring the identity provider in Keycloak.
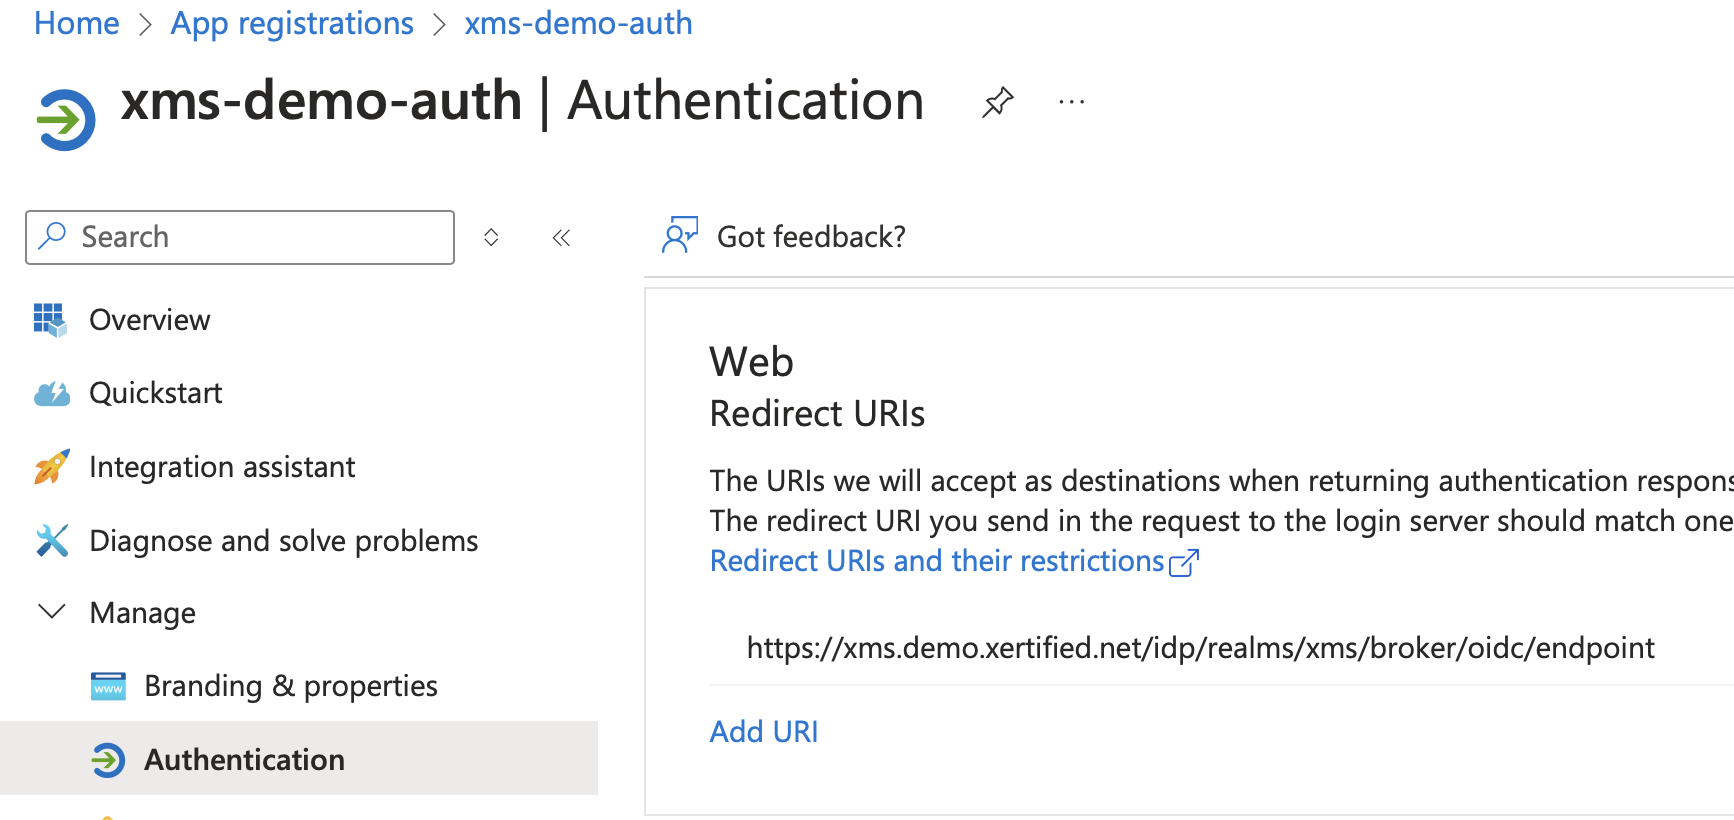
1.3 Add Redirect URI
Configure this redirect URI in the app registration:
https://<XMS-FQDN>/idp/realms/xms/broker/oidc/endpoint
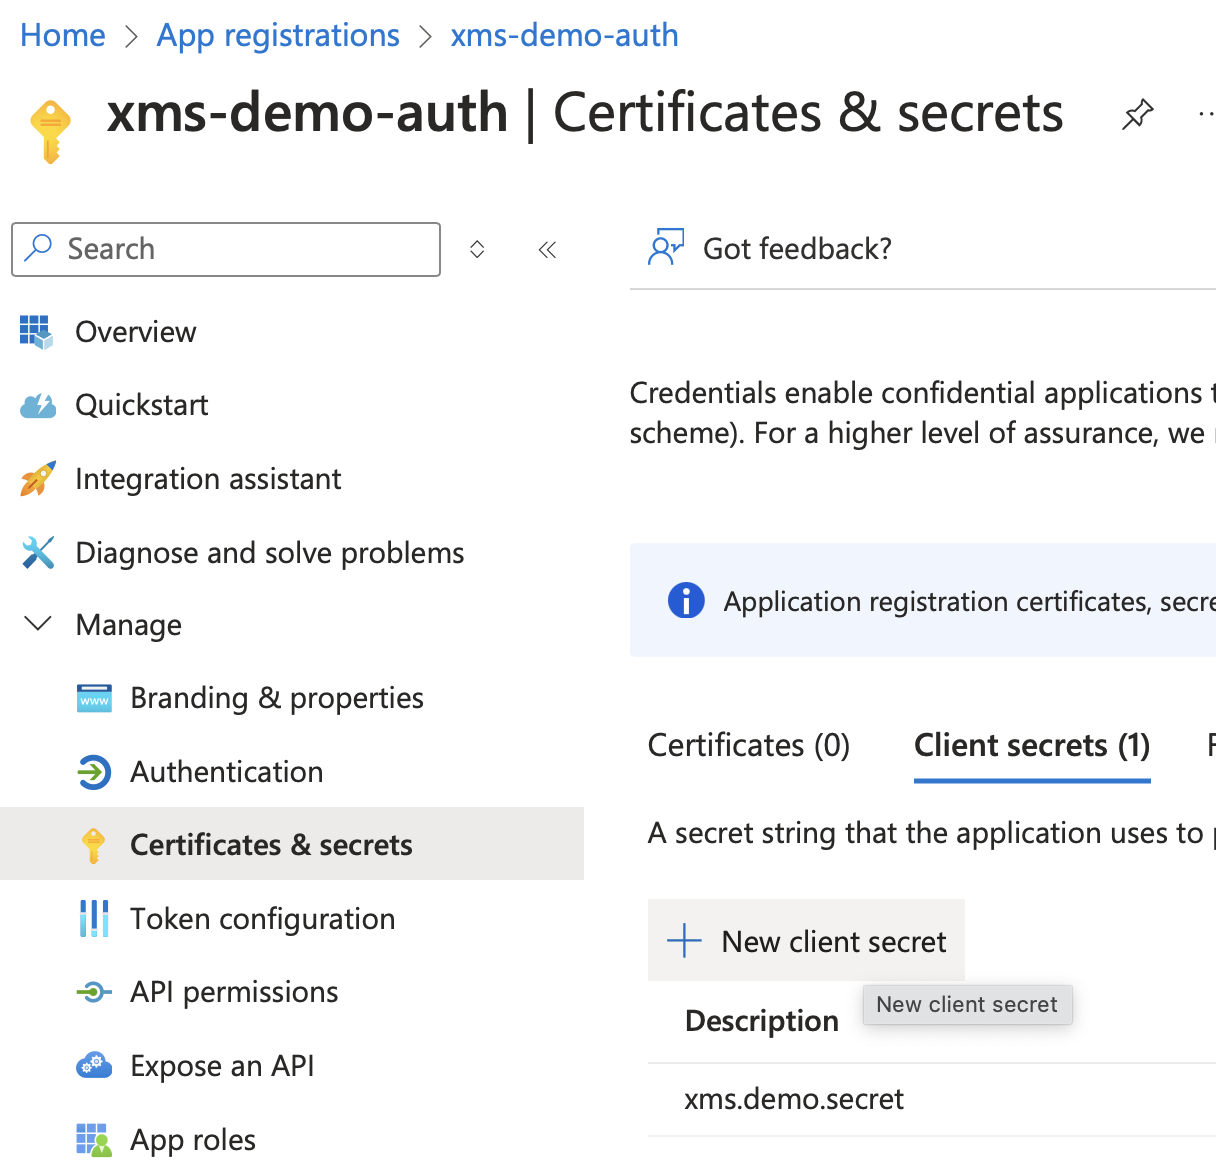
1.4 Create Client Secret
In Certificates & secrets, create a new client secret and save its value immediately. You cannot retrieve this value later.
2. User Synchronization Setup (Microsoft Graph)
2.1 Create a Separate App Registration
Create another app registration (for example xms-user-sync):
- Go to Microsoft Entra ID -> App registrations -> New registration.
- Choose Accounts in this organizational directory only (recommended).
- Leave Redirect URI empty.
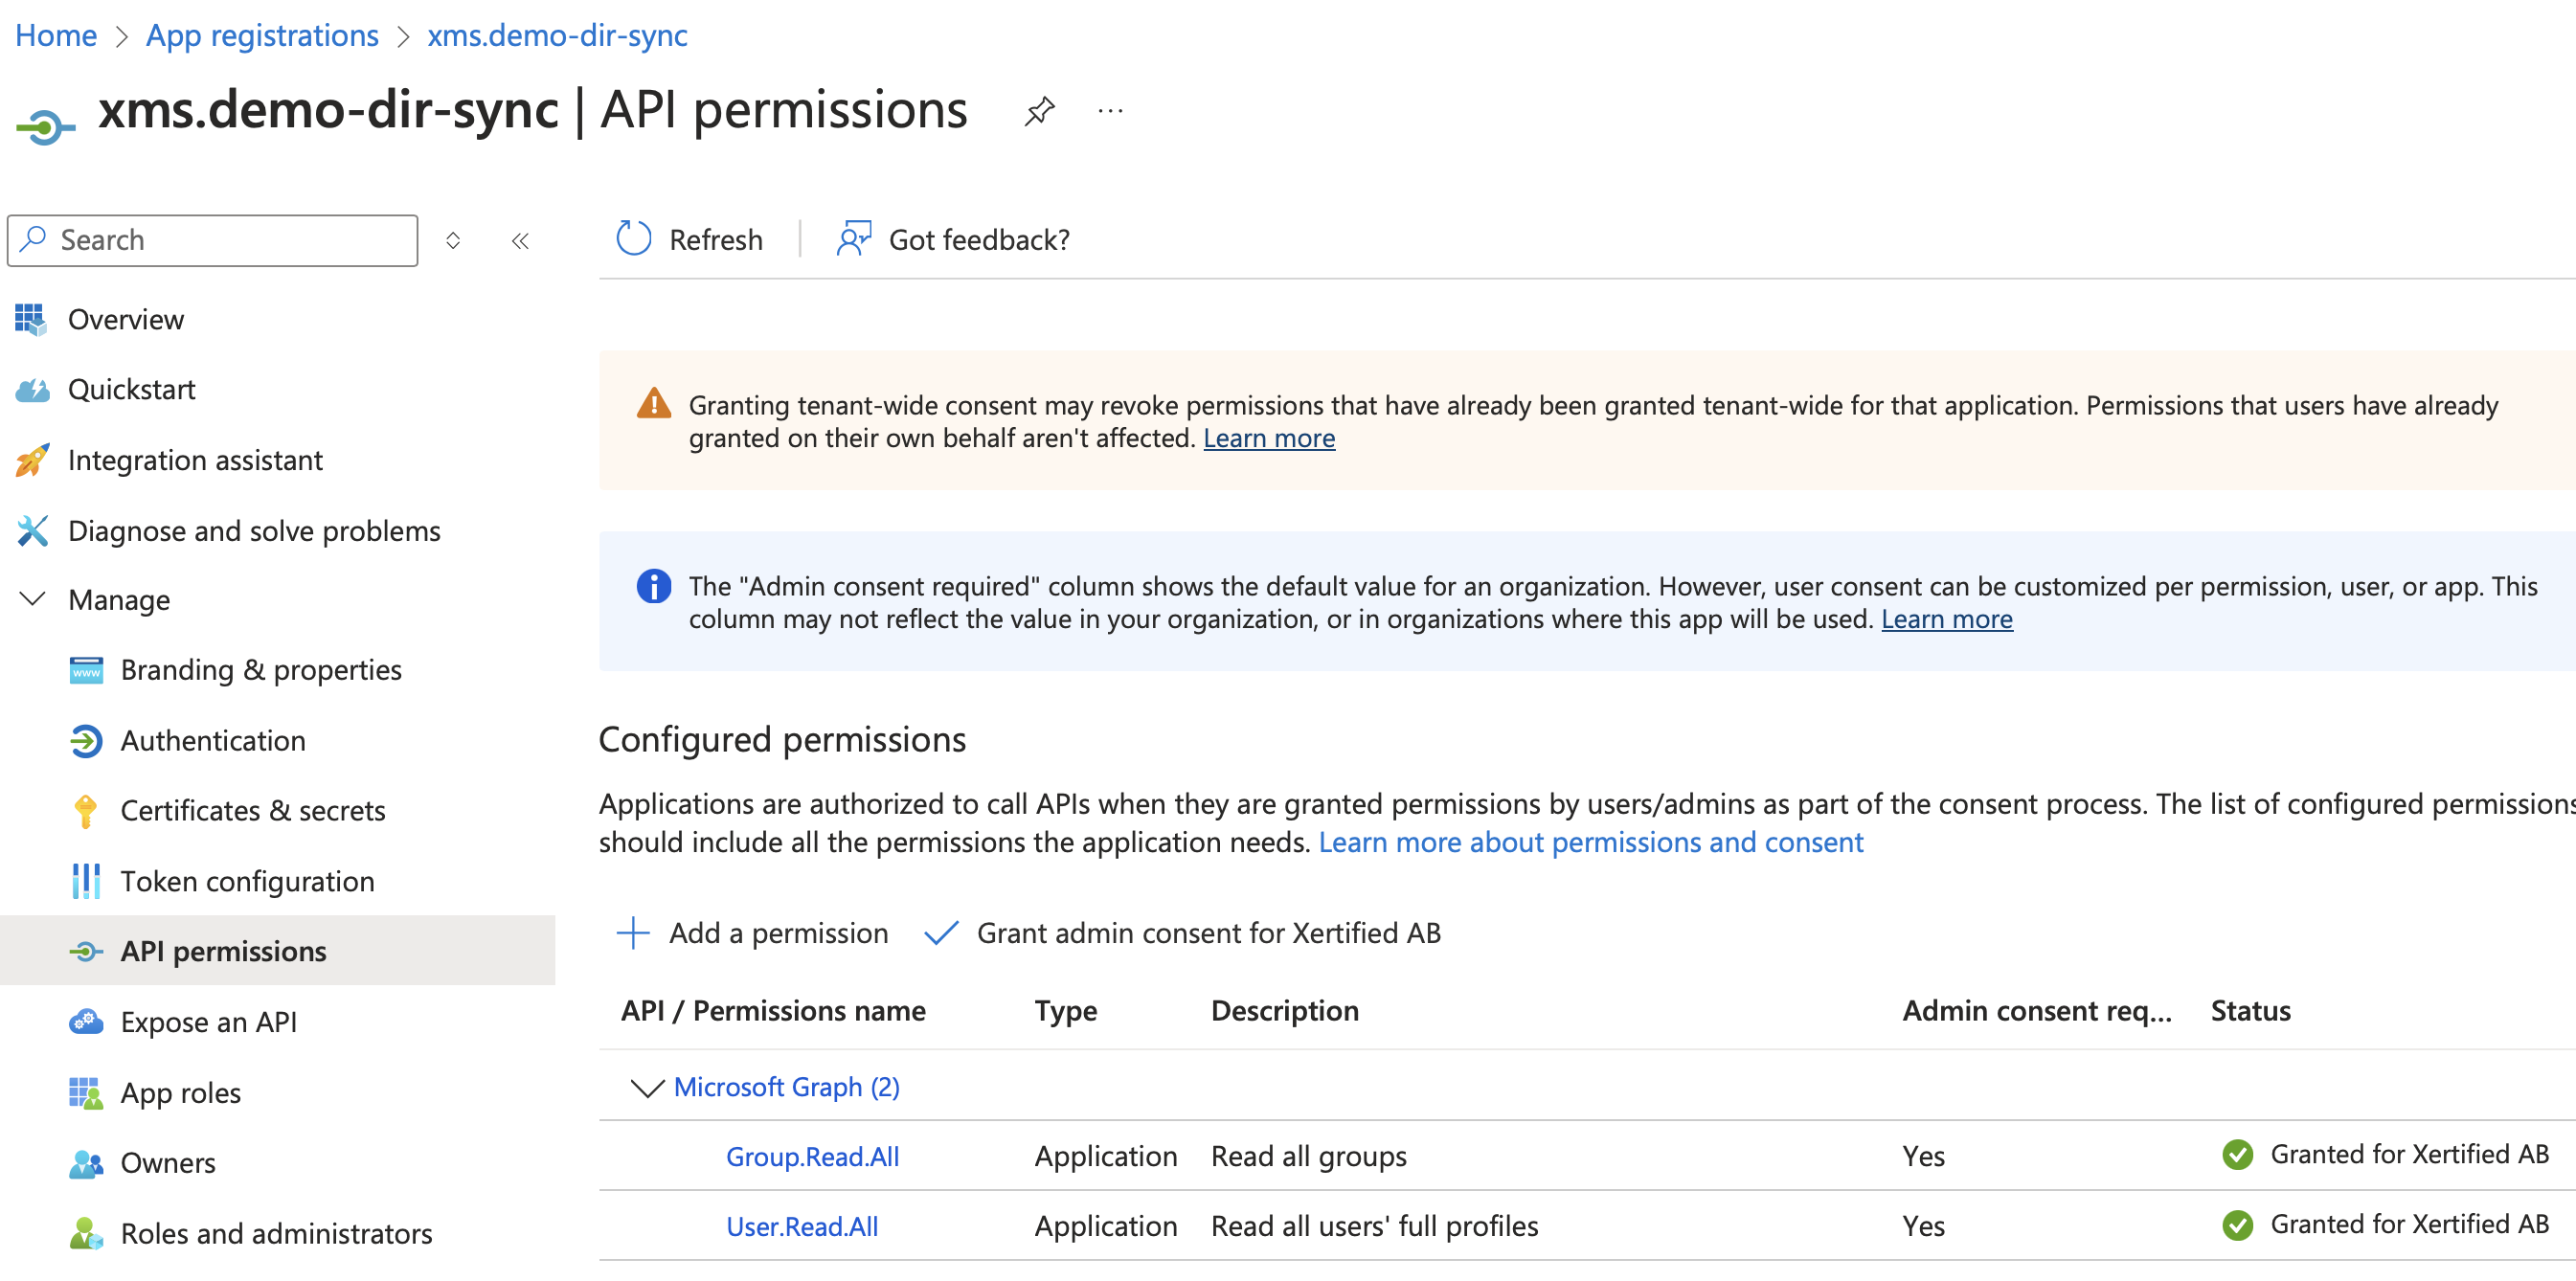
2.2 Set API Permissions
In the new app registration:
- Go to API permissions.
- Select Add a permission -> Microsoft Graph -> Application permissions.
- Add:
User.Read.AllGroup.Read.All- Select Grant admin consent for
.
3. Configure Directory Sync on XMS
Edit:
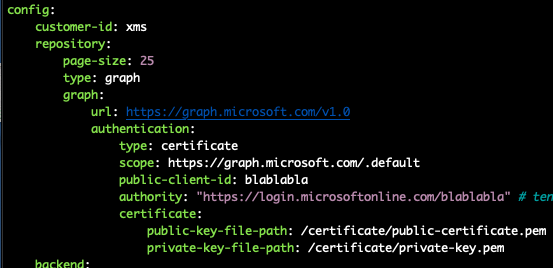
/etc/xms/config/directory-sync/application.yaml
In config.repository.graph.authentication:
- Set
public-client-idto the Application (client) ID from the user-sync app registration. - Set
authoritytohttps://login.microsoftonline.com/<tenant-id>, replacing<tenant-id>with your Microsoft Entra tenant ID.
4. Certificate-Based Authentication for Sync
Generate a certificate and key for directory-sync:
sudo openssl req -x509 -days 3650 -newkey rsa:2048 \
  -keyout /etc/xms/secrets/directory-sync/private-key-with-pass.pem \
  -out /etc/xms/secrets/directory-sync/public-certificate.pem
Convert the private key to PKCS#8 without password:
openssl pkcs8 -topk8 -nocrypt \
  -in /etc/xms/secrets/directory-sync/private-key-with-pass.pem \
  -out /etc/xms/secrets/directory-sync/private-key.pem
Move private-key-with-pass.pem to secure storage after conversion.
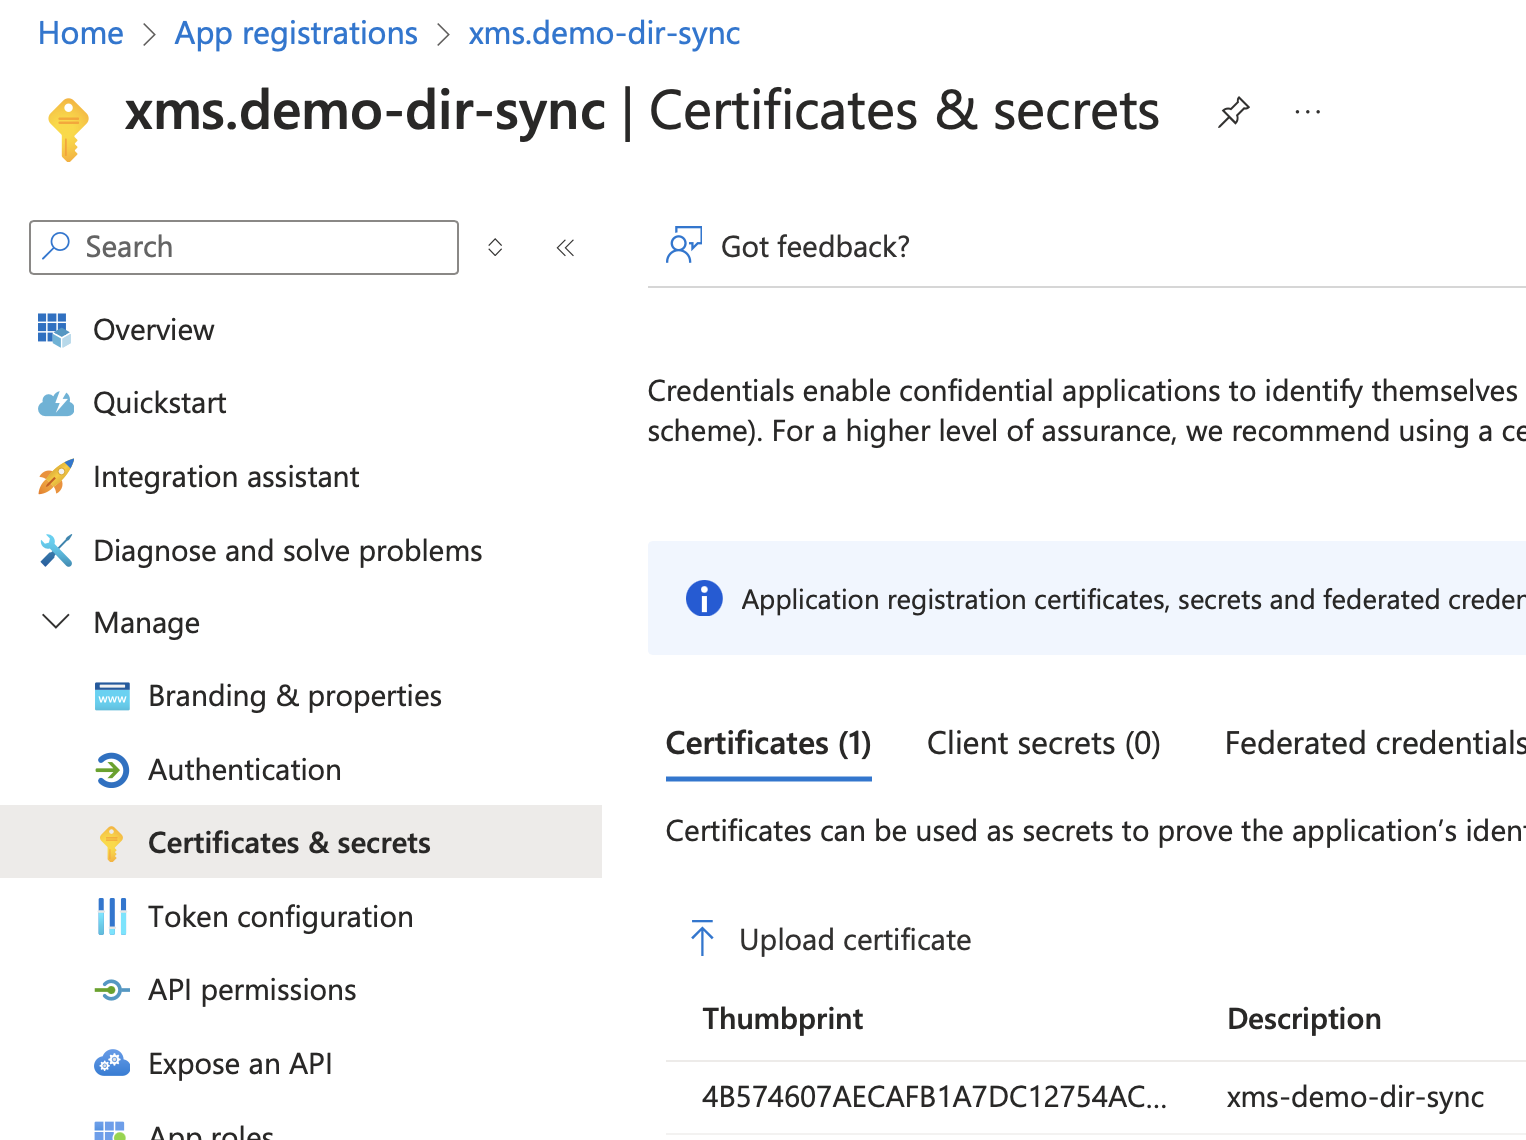
4.1 Upload Public Certificate to Azure
Upload /etc/xms/secrets/directory-sync/public-certificate.pem to the user-sync app registration:
App registrations -> <your app> -> Certificates & secrets -> Certificates -> Upload certificate
5. Configure Which Groups to Synchronize
Only users in configured Entra groups are synchronized.
- In Azure Portal, open each target group and copy its Object ID.
- Update group configuration in
/etc/xms/config/directory-sync/application.yamlaccording to your template structure. - Restart directory-sync:
cd /usr/share/xms
docker compose restart directory-sync
After synchronization completes, users and groups should appear in XMS. Verify by checking the Users section in the XMS dashboard.
If users do not appear, check the directory-sync logs:
cd /usr/share/xms
docker compose logs directory-sync
Common issues include incorrect Application (client) ID, missing admin consent on API permissions, or the certificate not matching between the XMS host and the Azure app registration.