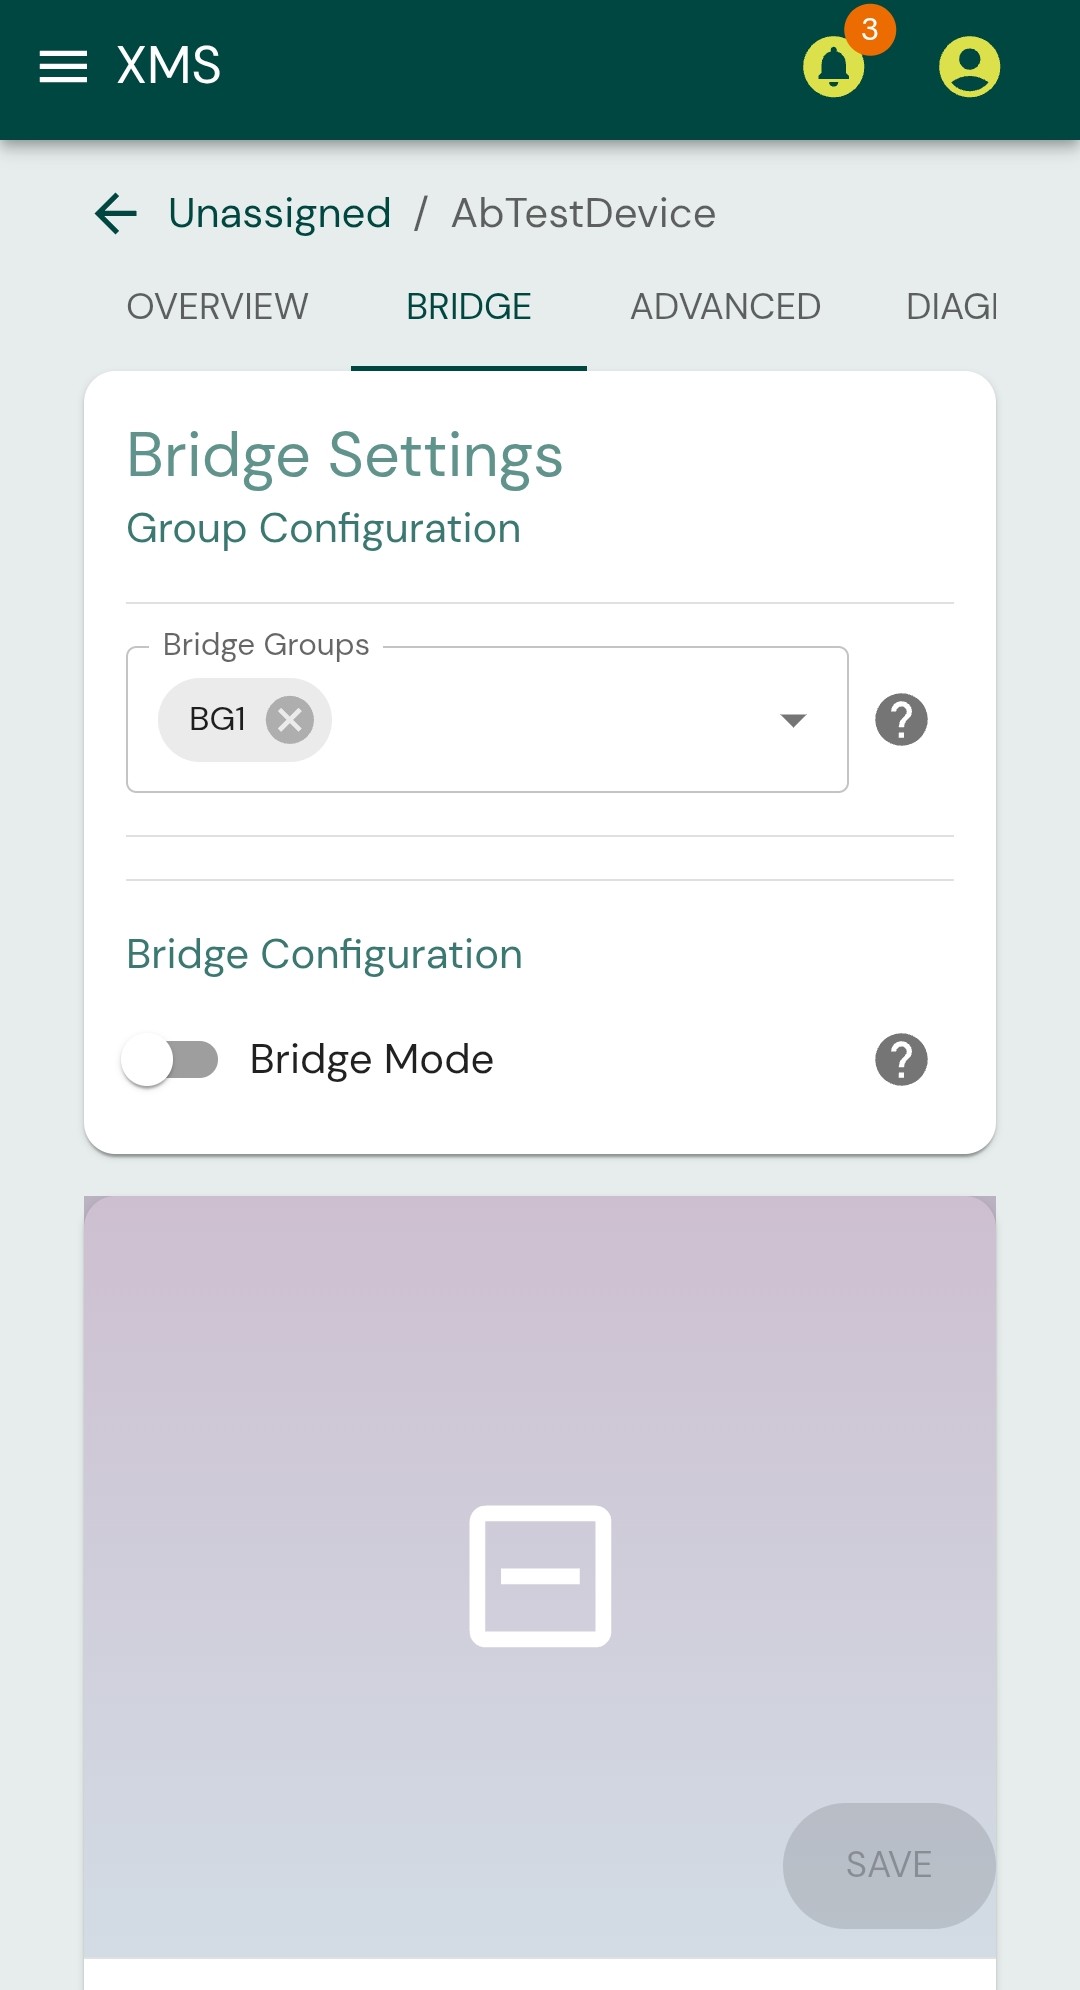
Enrolling XoTs
Before an XoT may be used (and configured as either an XoT-Lock or XoT-Bridge) it has to first find an XoT Managment System (XMS) through a process called discovery and then an enrollment must be performed by a user with access to the XMS in question.
If you have received XoT-S1s or have a software XoT installed by Xertified or a Xertified partner, it is most likely already configured to contact the correct XMS. If not, please contact your Xertified partner or Xertified directly.
If an XoT is configured to contact the correct XMS installation you may proceed with either factory reset or enrollment:
- If you have a newly installed XoT or a previously unused XoT-S1 you can proceed to the enrollment directly.
- If your XoT is already enrolled in an XMS and you would like to either move it to a different system or re-enroll it, then first perform a factory reset.
XMS Discovery
Discovery is a process through which an unenrolled XoT finds which XMS it should contact and prepare for enrollment to. An unenrolled XoT will try to contact https://discovery.prod.xertified.net and if its MAC-address is configured in the service it will then receive an URL to its XMS, which it will then contact to start the enrollment process.
If you are setting up an air-gapped or other such system that may not rely on Xertified's public discovery service you may use something called local discovery.
Local Discovery
Every XMS installation comes with a local discovery service that enables enrollment of XoTs without contacting the public discovery service. To use this feature, simply override the DNS record for discovery.prod.xertified.net, in the DNS used by the XoTs, to point to your XMS installation. The XMS will, when contacted by the XoT, send a discovery reply to the XoT with its own URL. After this the XoT should contact the XMS again to set up for enrollment.
XoT Factory Reset
Factory reset of a Software XoT
If you have an XoT installed on a Linux system first login to the system, and do the following:
systemctl stop xotd
rm -rf /xotd/data/* /xotd/tmp/*
systemctl start xotd
Once the xotd service starts you should be able to proceed to enrollment.
Factory reset of an XoT-S1
- Press the factory reset button
- Make sure the XoT-S1 is powered up, and that it is not performing a firmware upgrade.
- Find the RESET button on the back the XoT-S1.
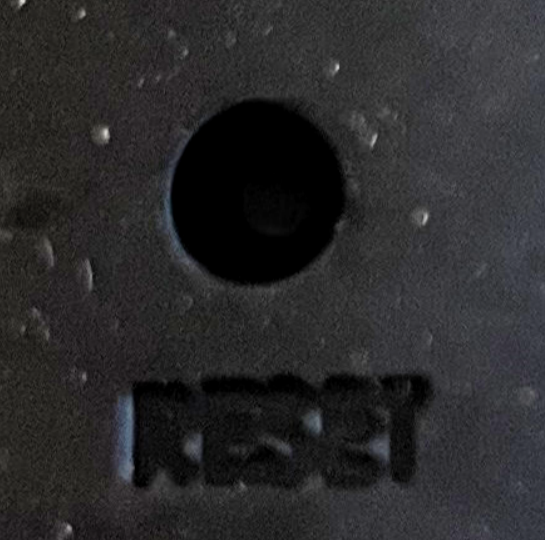
- Press the button gently and you can feel and hear a click. Now hold the RESET button until the screen goes black, which takes 5 seconds. Release the button and wait for the screen to come back.
- The screen should come back after about 30 seconds after it went black.
- The XoT has now done a factory reset.
- Clean the XMS from XoT-S1 details
- Login to the XMS and look up the Device and XoT.
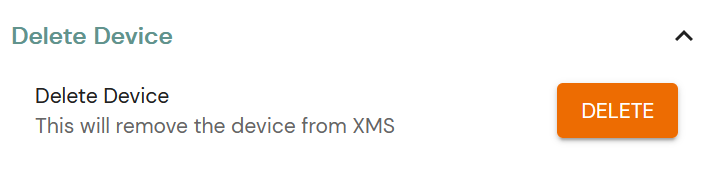
- Go to the device page and delete the device and XoT.
- You may now enroll the XoT-S1.
- See the enrollment section.
Clearing DHCP settings from an XoT-S1
If the reset button is held for over one second, but less than the 5 needed to perform a factory-reset, the S1 will clear any existing DHCP leases and drop any related settings (IP configuration / DHCP options). This can be useful if the S1 is moved to a different network but still has a valid DHCP lease.
XoT Enrollment
The enrollment process can be summarized as follows:
- Retrieve the enrollment URL and navigate to the XMS.
- Login to the XMS with an admin user.
- Follow the enrollment instructions.
How you retrieve the enrollment URL differs depending on if you are enrolling an XoT-S1 or a Software XoT, but the subsequent process is the same.
Getting enrollment URL from XoT-S1
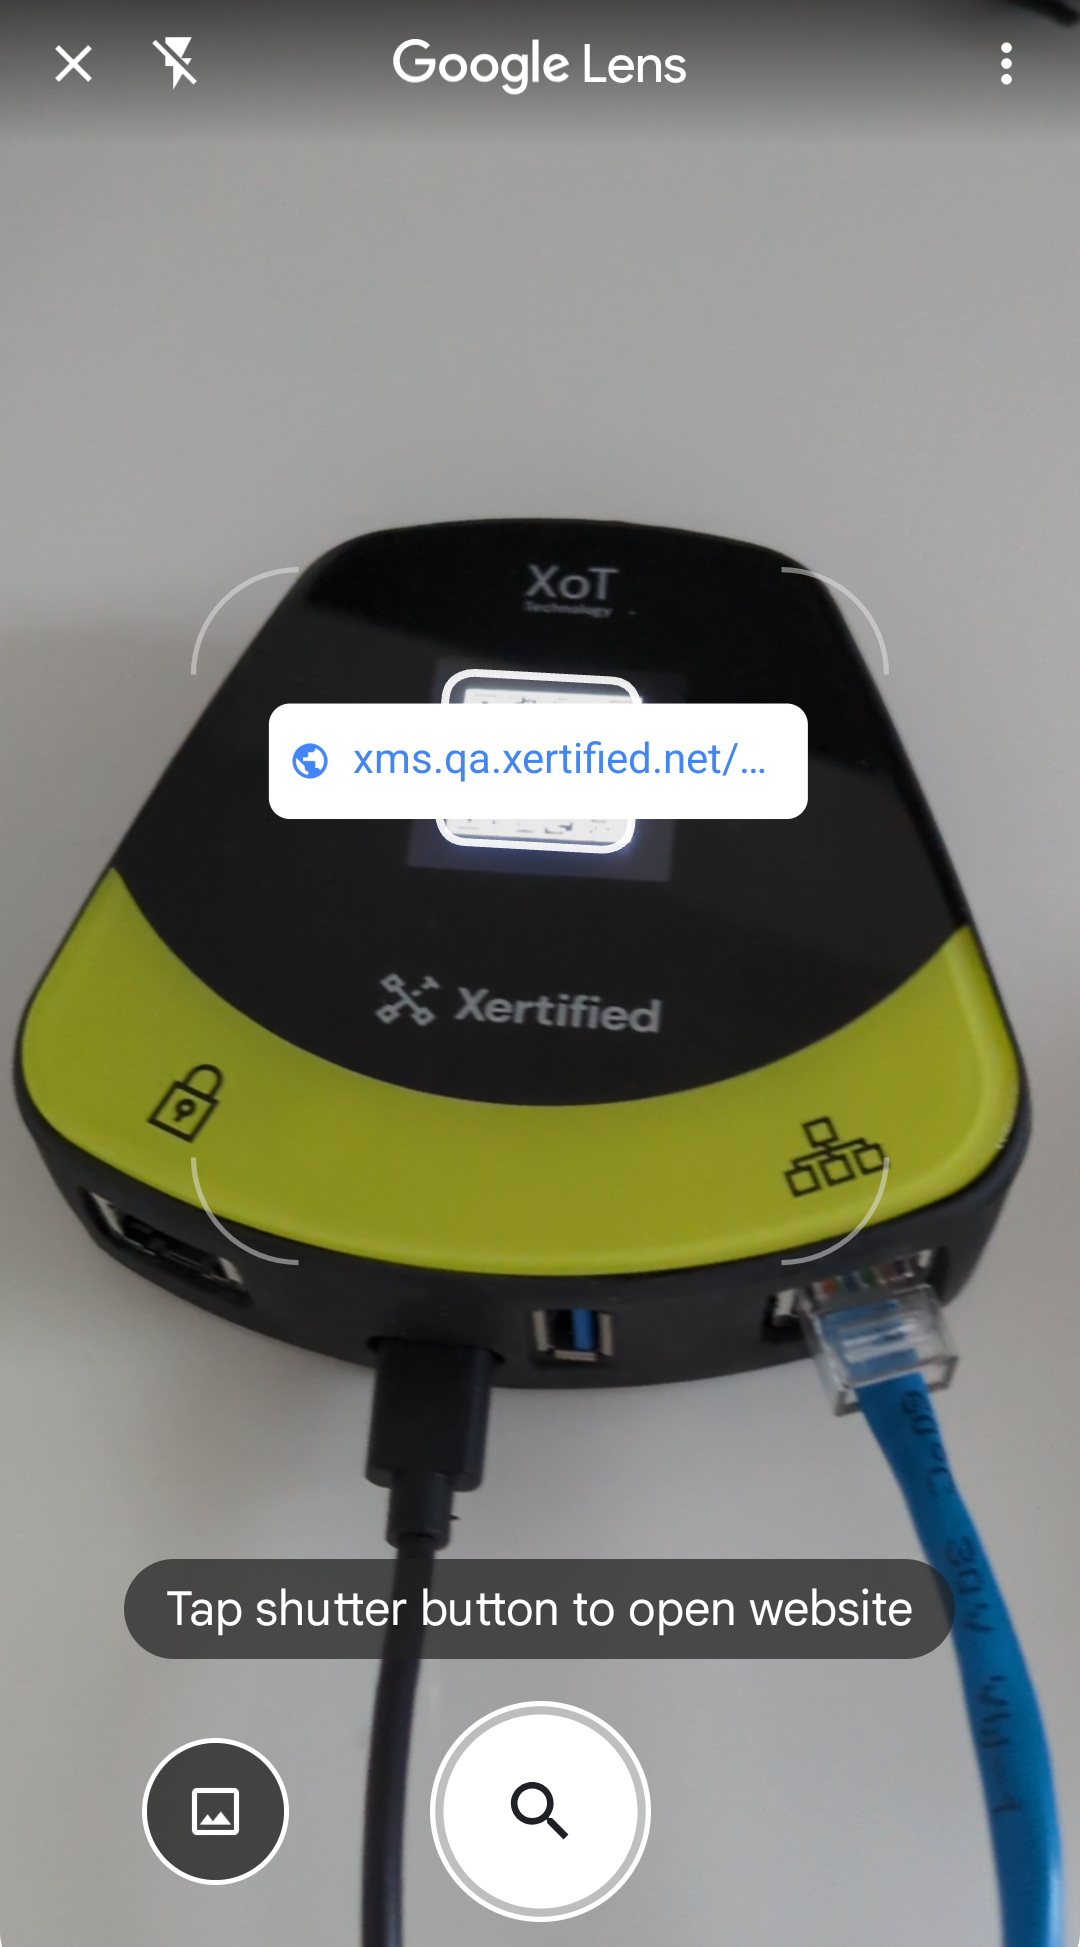
- Connect a power source to the XoT-S1 via the USB-C port.
- Connect a network cable to the XoT-S1, which makes a connection to the XMS possible.
- As the QR code is displayed, scan it with a device that can connect to the XMS.
Getting enrollment URL from Software XoT or Bridge
- Login to the device and run the following command:
grep URL /xotd/tmp/*-log.txt - Paste the URL into a web browser from which XMS is accessible.
Enrolling without XMS access
In some cases the person scanning the S1 QR code or getting the enrollment URL does not have access to the XMS. This can be especially true in cases where the XMS is not available over the internet.
In these cases it is possible to either send an image of the QR code itself or send the enrollment URL through some secure communication channel to an XMS administrator who can then perform the actual enrollment of the XoT.
Enrollment
The enrollment guides you through the basic XoT setup process. You can also navigate to the device in the XMS at a later date to extend or change the configuration, but the initial setup should take care of the enrollment.
Device Naming
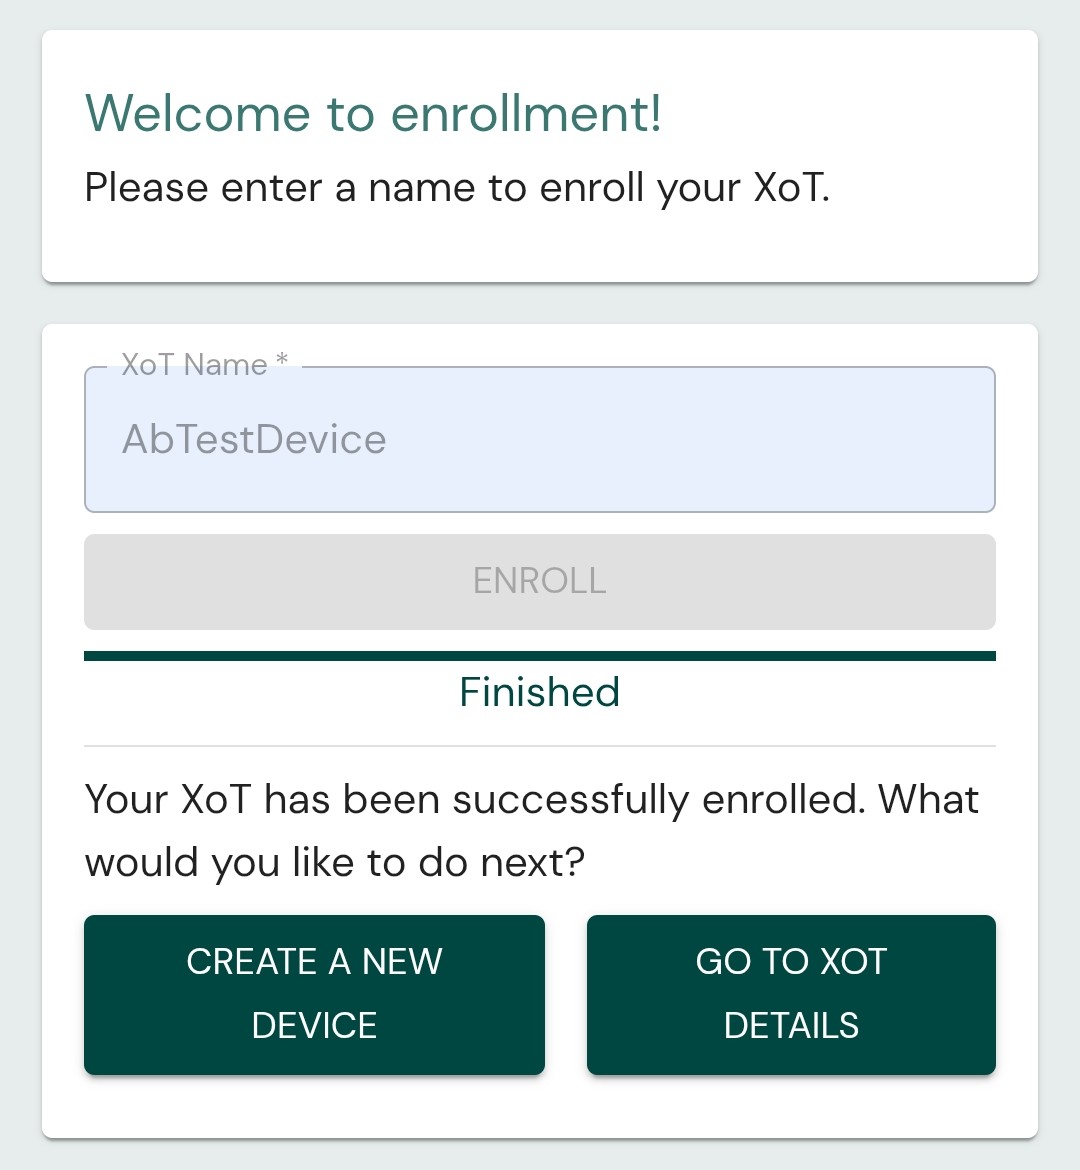
Once you navigate to the enrollment URL and login to the XMS, you will be greeted with the initial enrollment screen, which asks you to enter a Device Name. Enter an appropriate name for the device you are enrolling. To setup the device, click GO TO XOT DETAILS.
XoT Setup
On the next step, you will be asked to do some basic XoT setup.
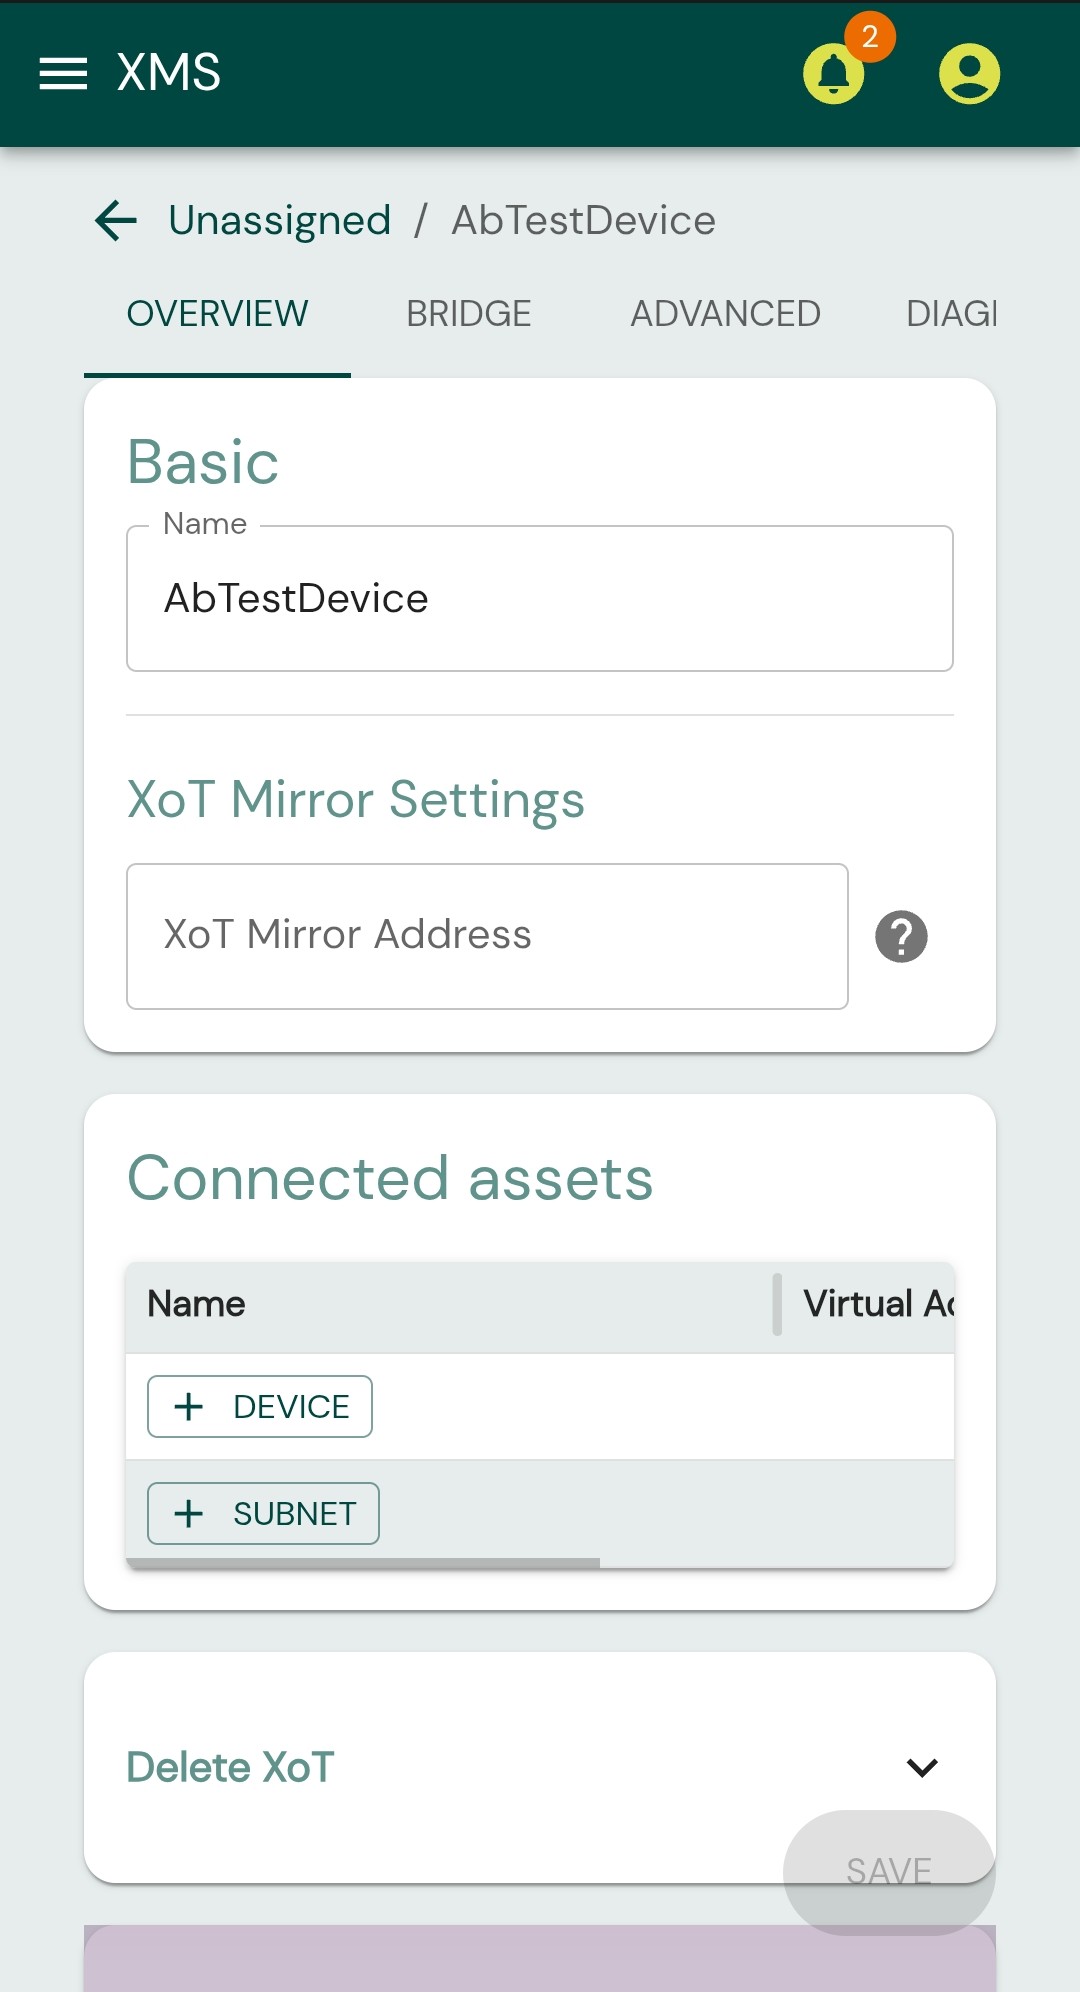
You can also assign the actual device IPs or subnets that can be made accessible to clients from behind the XoT. If you want to rely on DHCP to automatically detect the protected device or defer this setup to a later time.
If you want the device to be accessible via any XoT-Bridges, then you should assign them here and click SAVE.