Managing Users
Overview
XMS (XoT Management System) does not manage users directly. Instead, it integrates with an identity source (such as Microsoft Entra ID or Keycloak) and synchronizes users and groups into its own database. Once synchronized, users can be assigned roles and issued client configurations that allow them to connect to the XoT network.
This means that user management in XMS involves three layers:
Identity Source
- Where users and groups are created and maintained.
- Can be Keycloak (internal identity provider), Microsoft Entra ID (Azure AD) or other LDAP source.
Directory Synchronization
- The
directory-syncservice in XMS pulls users and groups from the identity source into the XMS database. - Only users that belong to a group whose ID has been added to XMS and enabled are synchronized.
- Users must also belong to at least one group to be synchronized.
XMS Roles and Certificates
- Once users appear in XMS, administrators assign them an XMS role (e.g.,
user,admin,root). - Each user must also have a certificate common name (CN) that matches their email. This is required for client authentication.
- Finally, a client configuration (certificate package or smart card profile) is generated and distributed to the user.
Identity Sources
Using Microsoft Entra ID
If your organization uses Microsoft Entra ID (Azure AD), then:
- Users and groups are added to the Entra ID.
- XMS synchronizes them via the
directory-syncservice. - Group membership in Entra ID determines which users are imported into XMS.
Adding users in Entra ID:
- Go to the Azure Portal Users page.
- Click New user.
- Choose Create new user for employees.
- Choose Invite external user for external collaborators.
- Provide at least an email, first name, and last name.
Adding groups in Entra ID:
- Go to the Azure Portal Groups page.
- Click New group.
- Group type: Security
- Membership type: Assigned
- Provide a group name.
Assigning users to groups:
- Either add users directly to a group, or assign group membership from the user’s profile.
Using Keycloak
It is possible to avoid using any external identity provider if that is desired, by using the XMS authentication service, Keycloak, as an identity provider.
This is usually recommended for trial installations as it is easy to get started and create users as needed without affecting needing to connect to any Entra ID or LDAP source.
If your XMS uses Keycloak as the identity source:
- Users and groups are created in the Keycloak admin console or via API/CLI.
- XMS synchronizes them via the
directory-syncservice. - As with Entra ID, only users who belong to at least one group are synchronized.
Adding users in Keycloak:
- Log in to the Keycloak admin console.
- Select the xms realm.
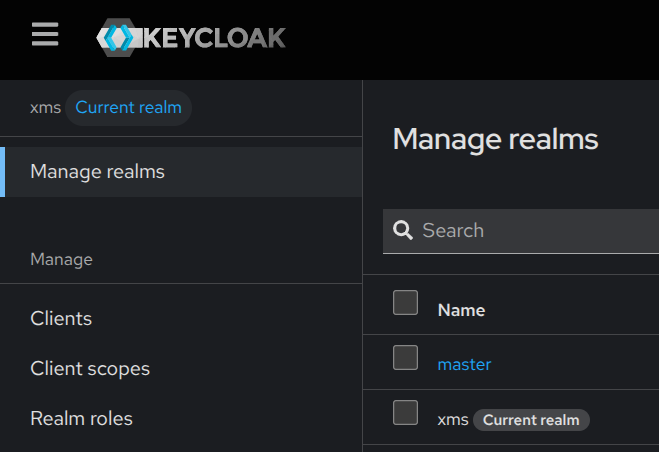
- Go to Manage → Users and click Add user.
- Set Username (mandatory, ASCII only).
- Set Email (mandatory).
- Optionally set first/last name.
- Toggle Email verified if you have SMTP configured.
- Assign the user to one or more groups.
- Click Create.
- To set a password, go to the Credentials tab and click Set password.
Adding groups in Keycloak:
- Go to Manage → Groups.
- Click Add group.
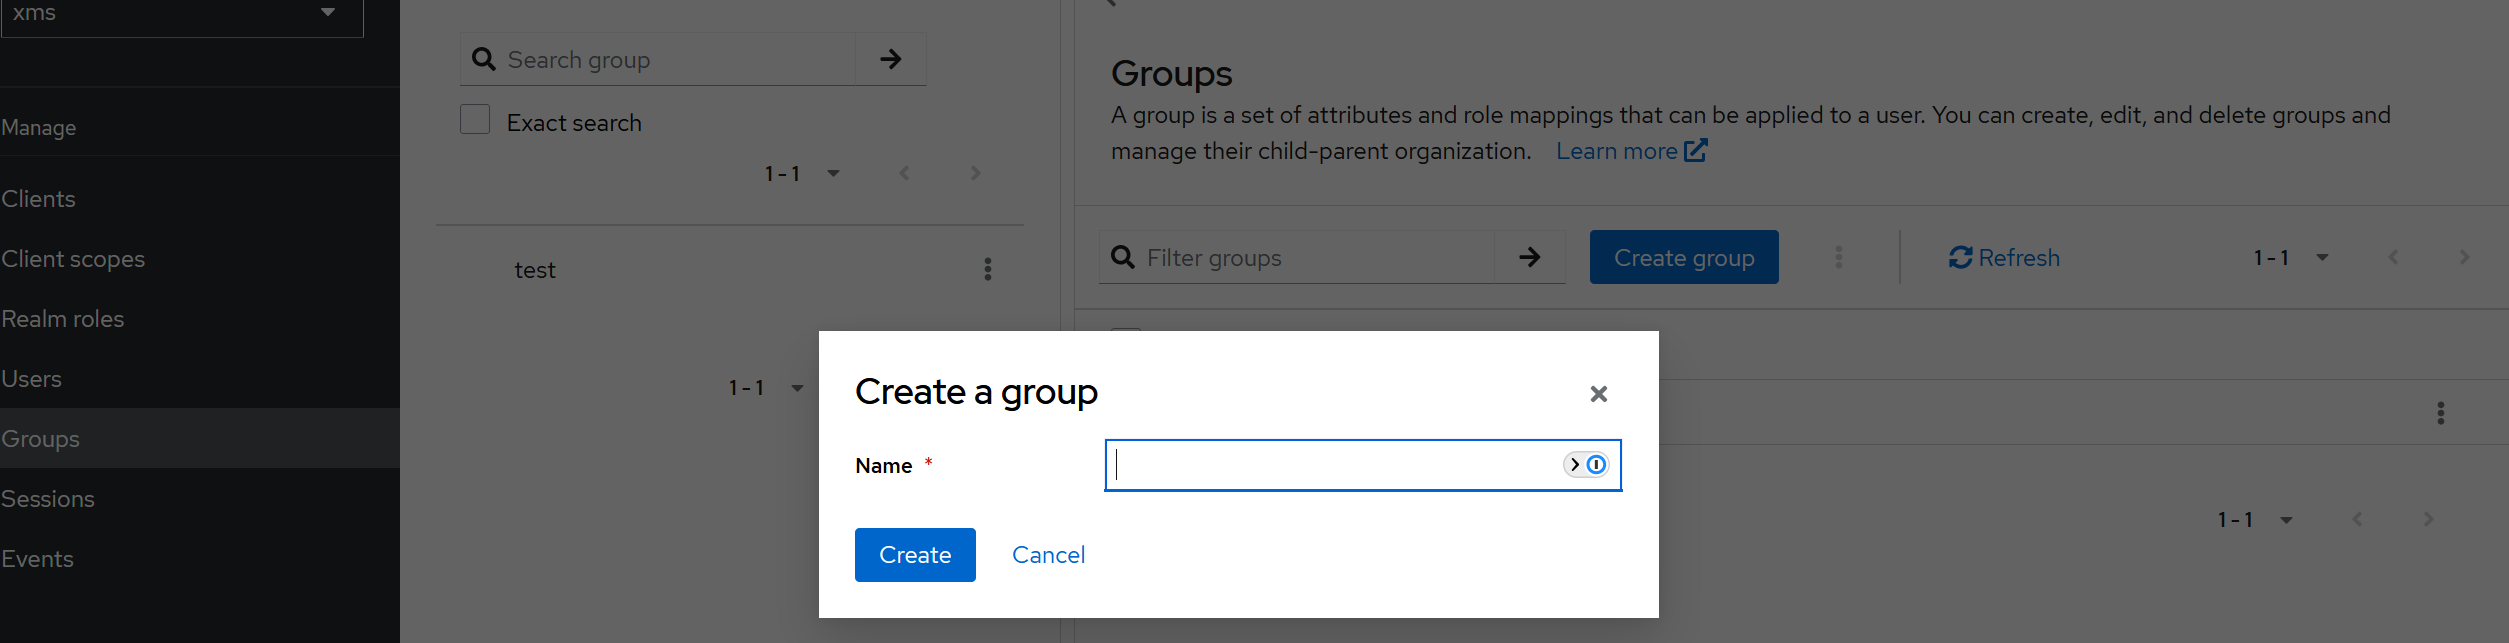
- Enter a group name and click Create.
Synchronizing Users And Groups
- Log in to the XMS web interface as an administrator.
- Go to System settings → Group synchronization and make sure the groups you want to import present and enabled.
- If not all groups are available on this page, make sure that the relevant groups are not being excluded before being imported into XMS.
- Then go to Users → List in the main menu.
- If new users or groups are missing, click Sync.
- Wait a few minutes, then refresh the page. The new users and groups should appear.
Assigning Roles and Certificates in XMS
Once users are synchronized into XMS, they appear in the Users list provided at least one group they belong to is enabled in the web interface. You can now navigate to users by going to Users → List in the main menu. By default, an imported user will not have any permissions to either connect to protected assets or to log in and do administration in the XMS.
XMS Roles
| Role | XMS Access | XoT Access | Description |
|---|---|---|---|
| None | No | No | User cannot log in or connect. |
| User | No | Yes | Can connect to XoT protected assets they have been given asses to via policies, but cannot not manage XMS. |
| Admin | Limited | Yes | Can manage some XMS functions, but not system‑wide. |
| Root | Full | Yes | Full administrative access. |
Accepted Certificate Common Name
By default, each user will be assigned a certificate common name that is the same as their email, though this value can be changed manually. Keep in mind that the common name in issued certificates must match their user's assigned CN or authentication will fail.
Creating Client Configurations
Once a user has been imported into the XMS, an administrator can generate a client configuration for them, or are user can create their own configuration and download it themselves.
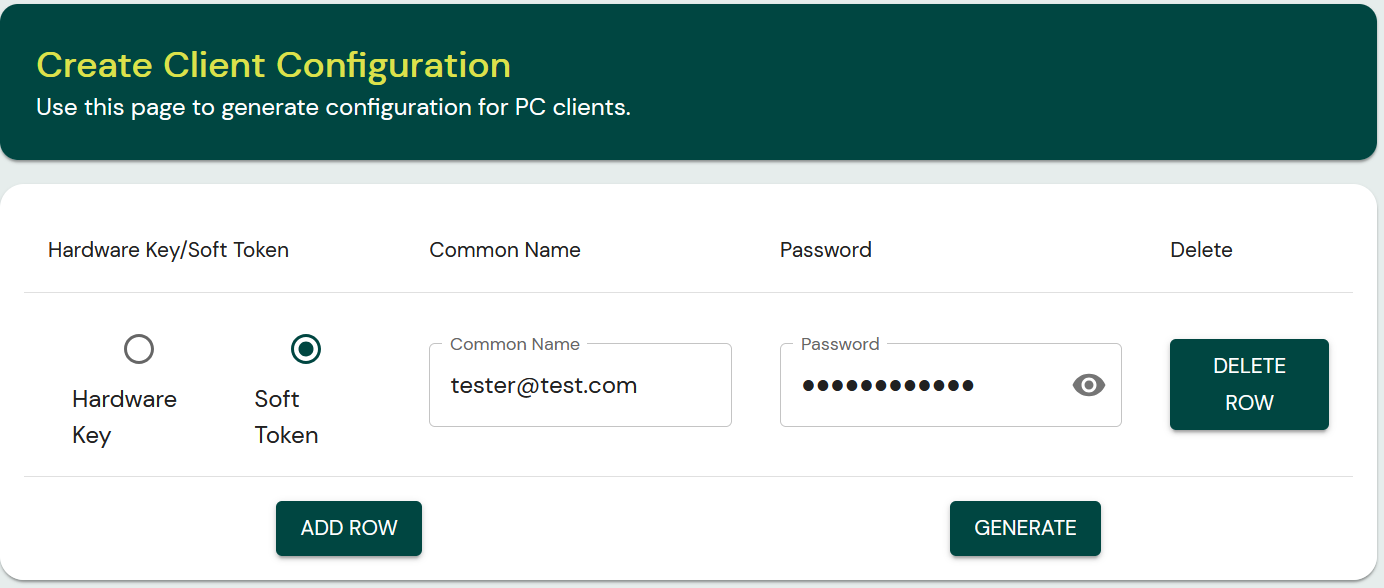
- When logged into XMS, go to Users → Create Client Configuration.
- Choose whether the user will use a soft token (certificate file) or a hard token (smart card, YubiKey, etc.).
- Set the Common Name to the user’s email.
- Set a password (the user will need this when configuring their XoT Client).
- Click Generate to create and download the configuration archive (encrypted .zip file).
Distributing Client Configurations
Client configuration files must be distributed to users through secure channels, in accordance with your organization’s infrastructure.
The overall security of the XoT Network relies on maintaining the confidentiality and integrity of user configurations.
Please consult your partner, or Xertified directly, if you have any questions.