XoT Enrollment
Enrollment Overview
The enrollment process can be summarized as follows:
- Retrieve the enrollment URL and navigate to the XMS.
- Log in to the XMS with an admin user.
- Follow the enrollment wizard.
How you retrieve the enrollment URL differs depending on if you are enrolling an XoT-S1 or a Software XoT, but the subsequent process is the same.
Getting enrollment URL from XoT-S1
- Connect a power source to the XoT-S1 via the USB-C port.
- Connect a network cable to the XoT-S1, which makes a connection to the XMS possible.
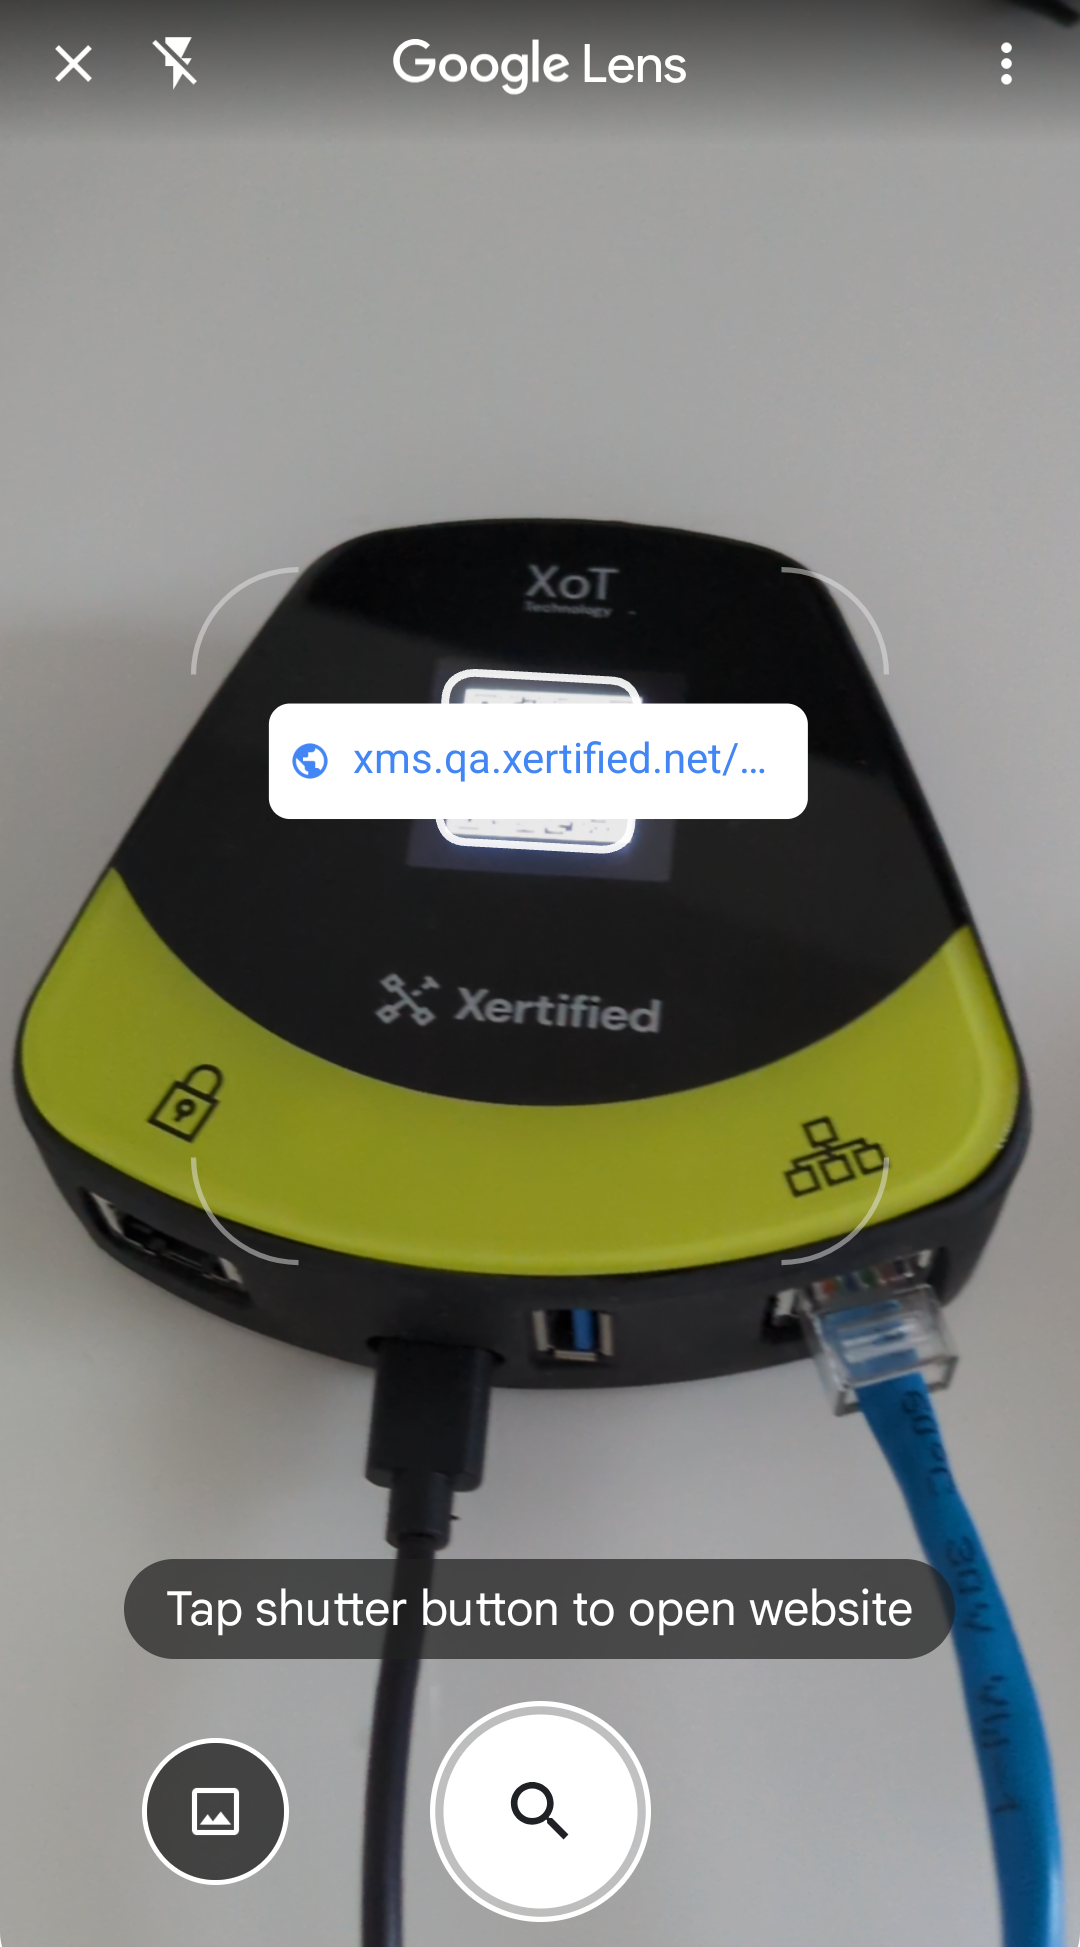
- As the QR code is displayed, scan it with a device that can connect to the XMS.
Getting enrollment URL from Software XoT or Bridge
- Log in to the device and run the following command:
grep URL /xotd/tmp/*-log.txt - Paste the URL into a web browser from which XMS is accessible.
The Enrollment Wizard
The enrollment wizard guides you through the basic XoT setup process. You can also navigate to the device in the XMS at a later date to extend or change the configuration, but the wizard should take care of the initial setup.
Device Naming
Once you navigate to the enrollment URL and log into the XMS, you will be greeted with the initial enrollment screen, which asks you to enter a Device Name. Enter an appropriate name for the device you are enrolling and click Enroll to start the process.
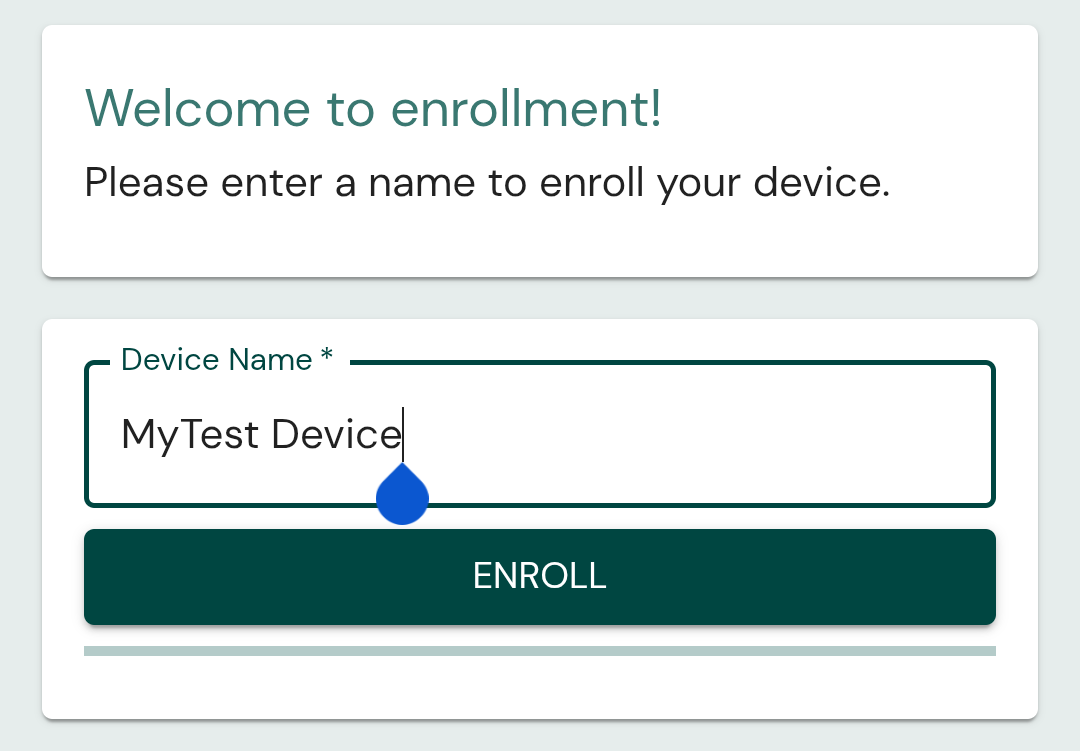
The rest of the configuration done in the enrollment wizard may be deferred to a later date if so desired, but no device will be enrolled unless
XoT Setup
On the next step, you will be asked to do some basic XoT setup. If you want the device to be accessible via any XoT-Bridges, then you should assign them here.
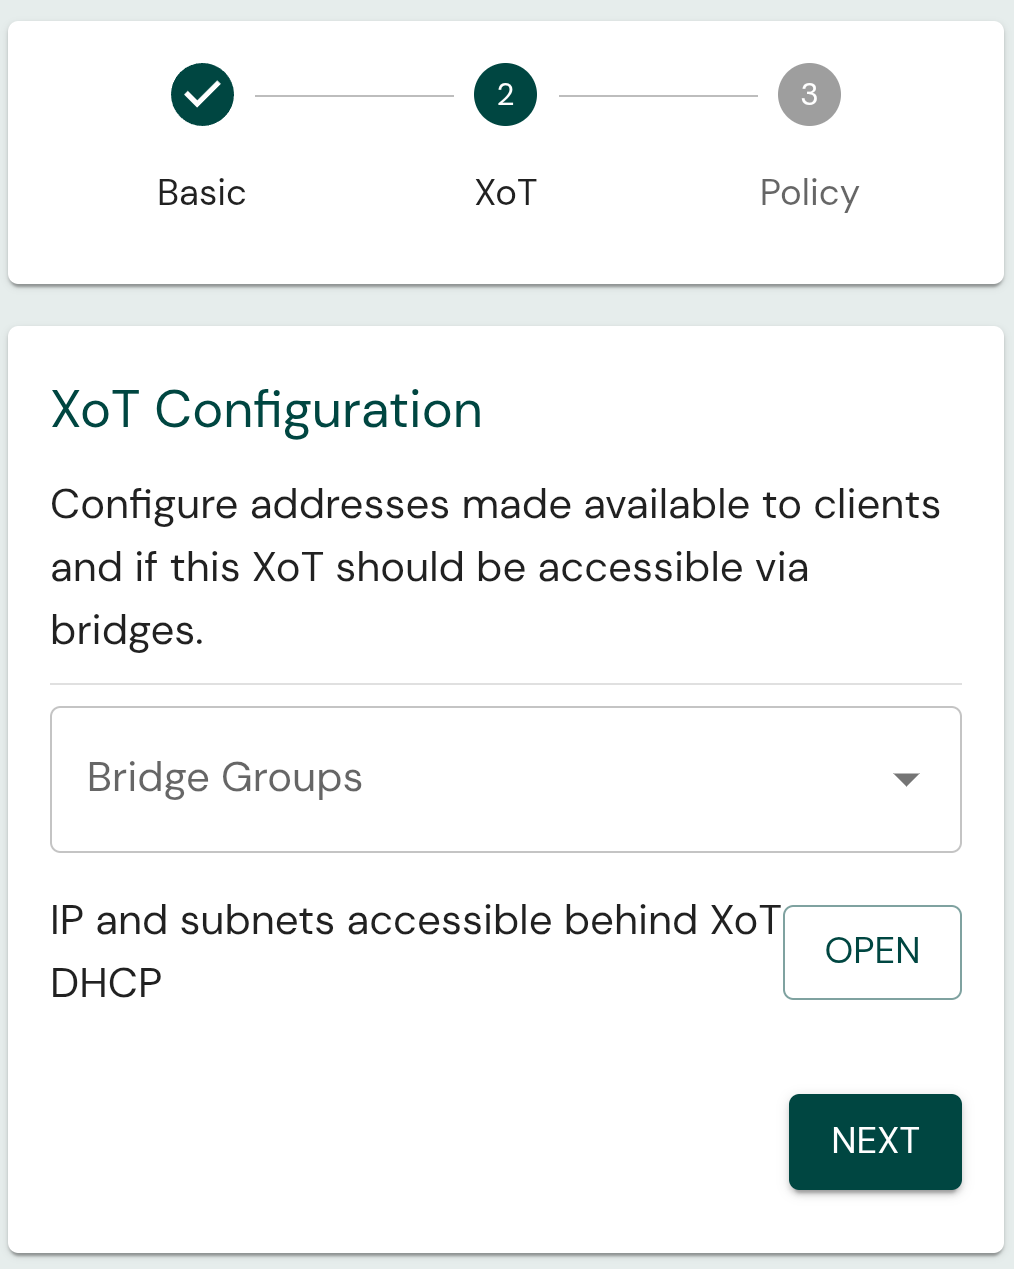
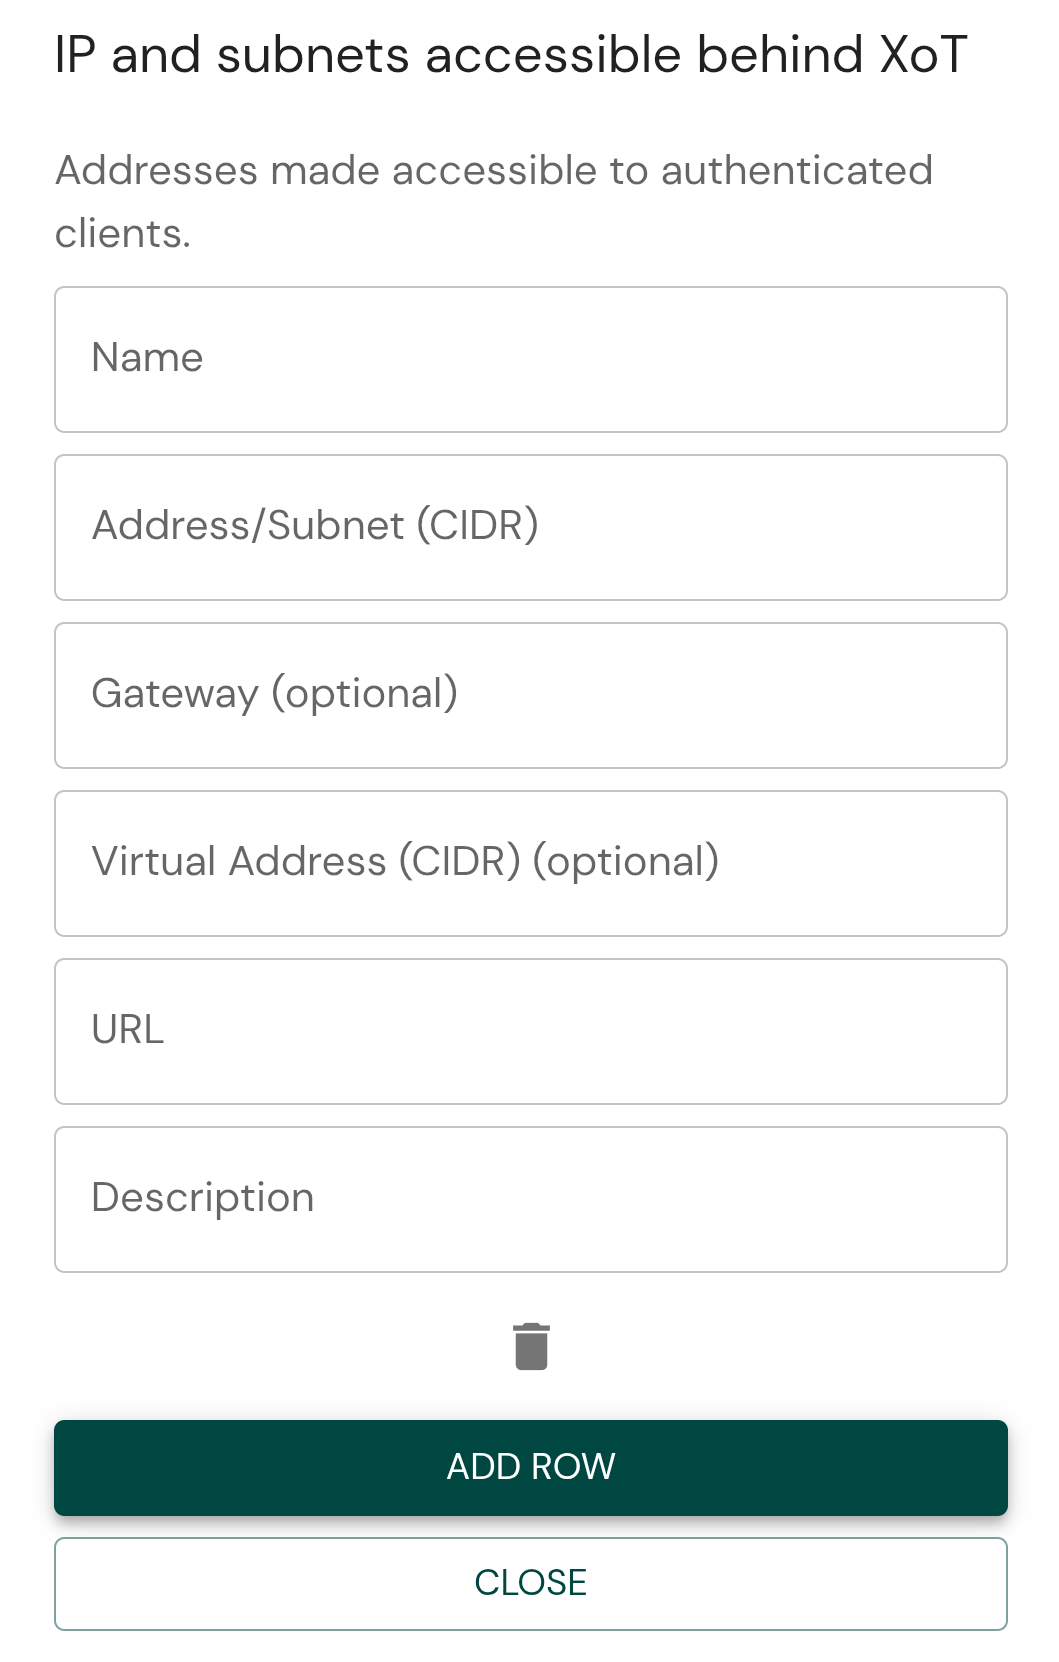
You can also assign the actual device IPs or subnets that can be made accessible to clients from behind the XoT. If you want to rely on DHCP to automatically detect the protected device or defer this setup to a later time, you may skip this step and simply click NEXT to continue.
Policy
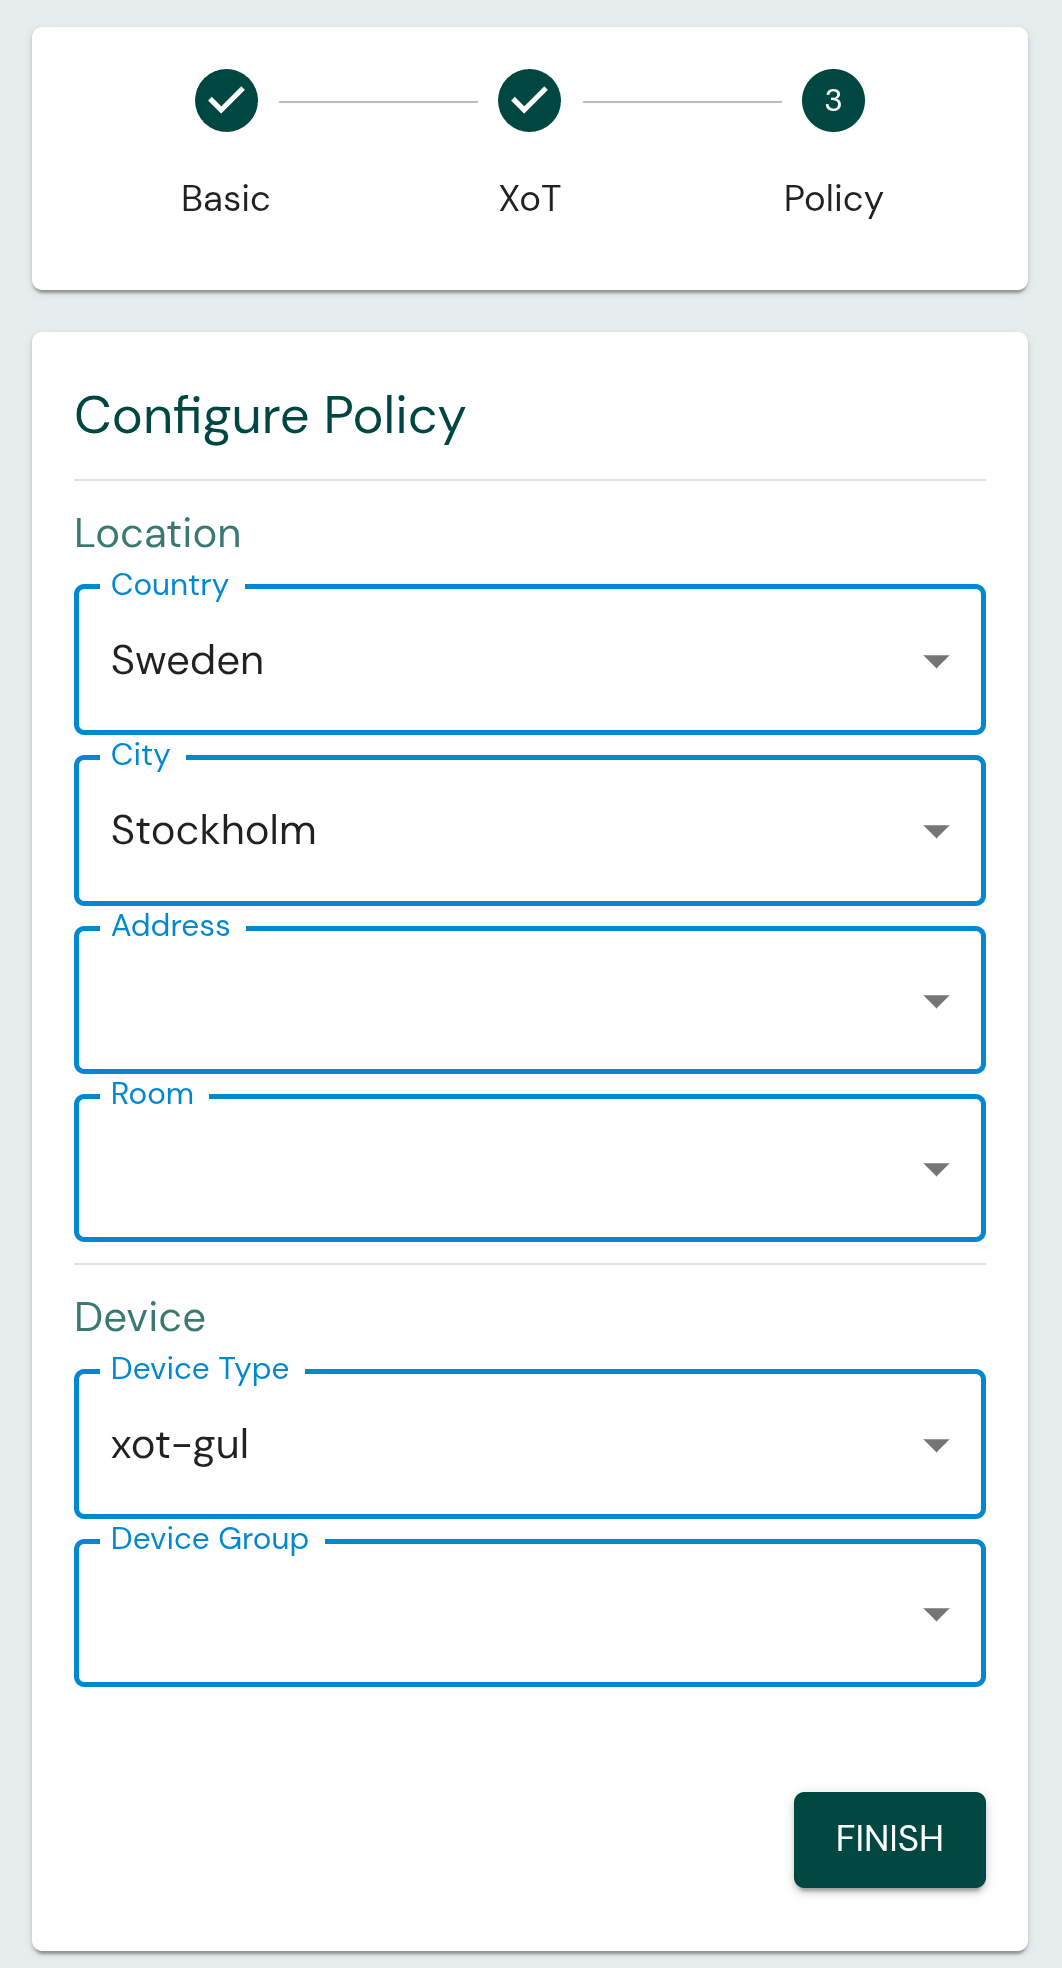
In the final step of the enrollment wizard you will be asked to configure the type, group, and location of the device.
Since policies that grant access are commonly targeting devices these attributes this is a crucial step that allows policies to be narrowly targeted and not grant overly broad permissions.
This setup can be done at any later time by navigating to the device in the device list in the XMS and clicking on the Access control tab.