Hosting on Azure guide
Overview of the XoT
The XoT protects a host on a subnet in your cloud service of choice, ensuring that only authenticated and authorized XoT clients can access the resource behind it.
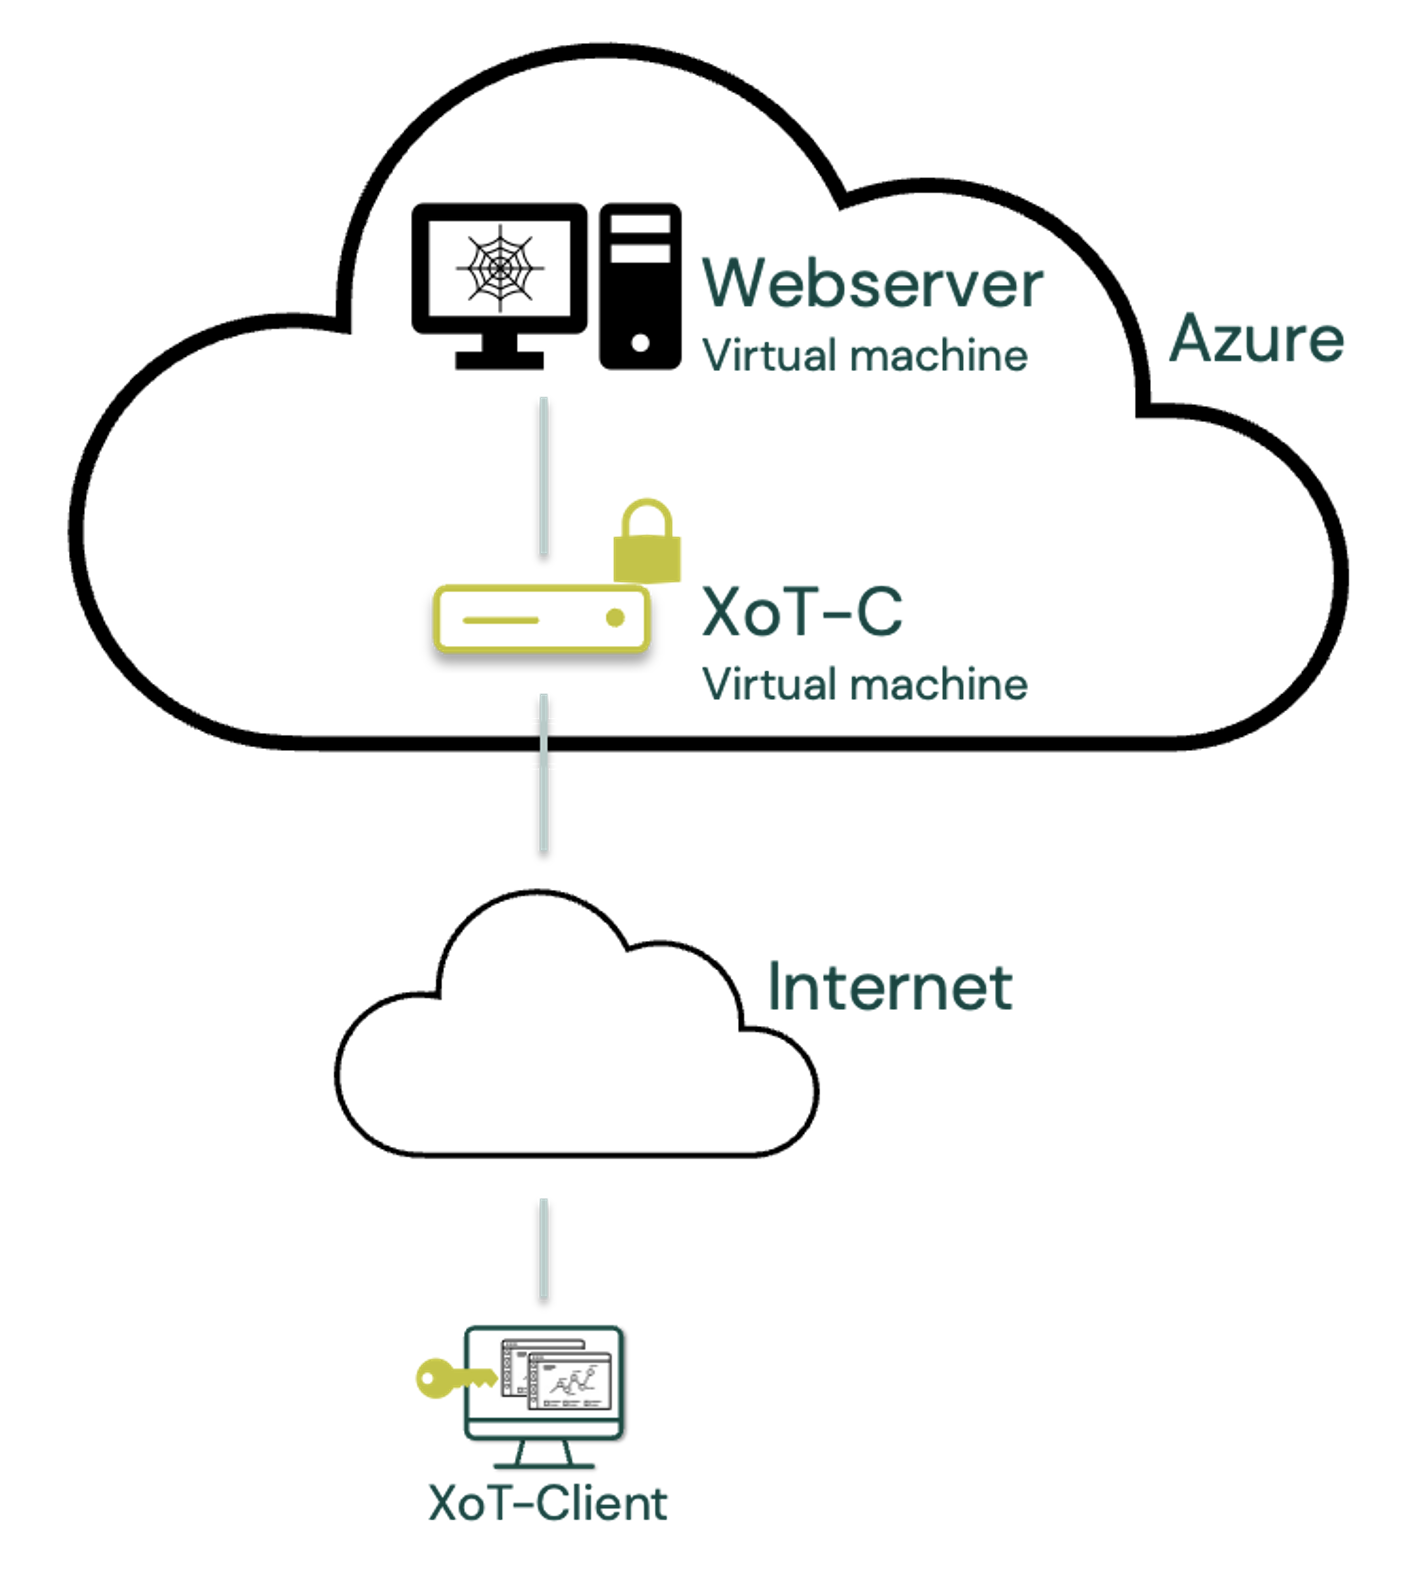
This guide focuses on the Azure components of the XoT setup and does not cover setting up the XoT itself. See a separate guide for that.
Azure Guide installation guide
Perquisites
This guide assumes you have an account on Azure, you have logged in to https://portal.azure.com and that you are a bit familiar with Azure already.
Creating the virtual machine
From the Azure home screen, click on "Virtual Machines" or search for Virtual Machines in the search bar and click it.
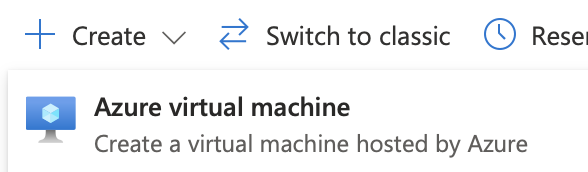
Now click "Create" and choose "Azure Virtual Machine".
Choose your Subscription and give the VM a name. The resource group name will be auto-created, which is fine.
Look at the choices made here as an example. All objects for this VM will be contained in the resource group.
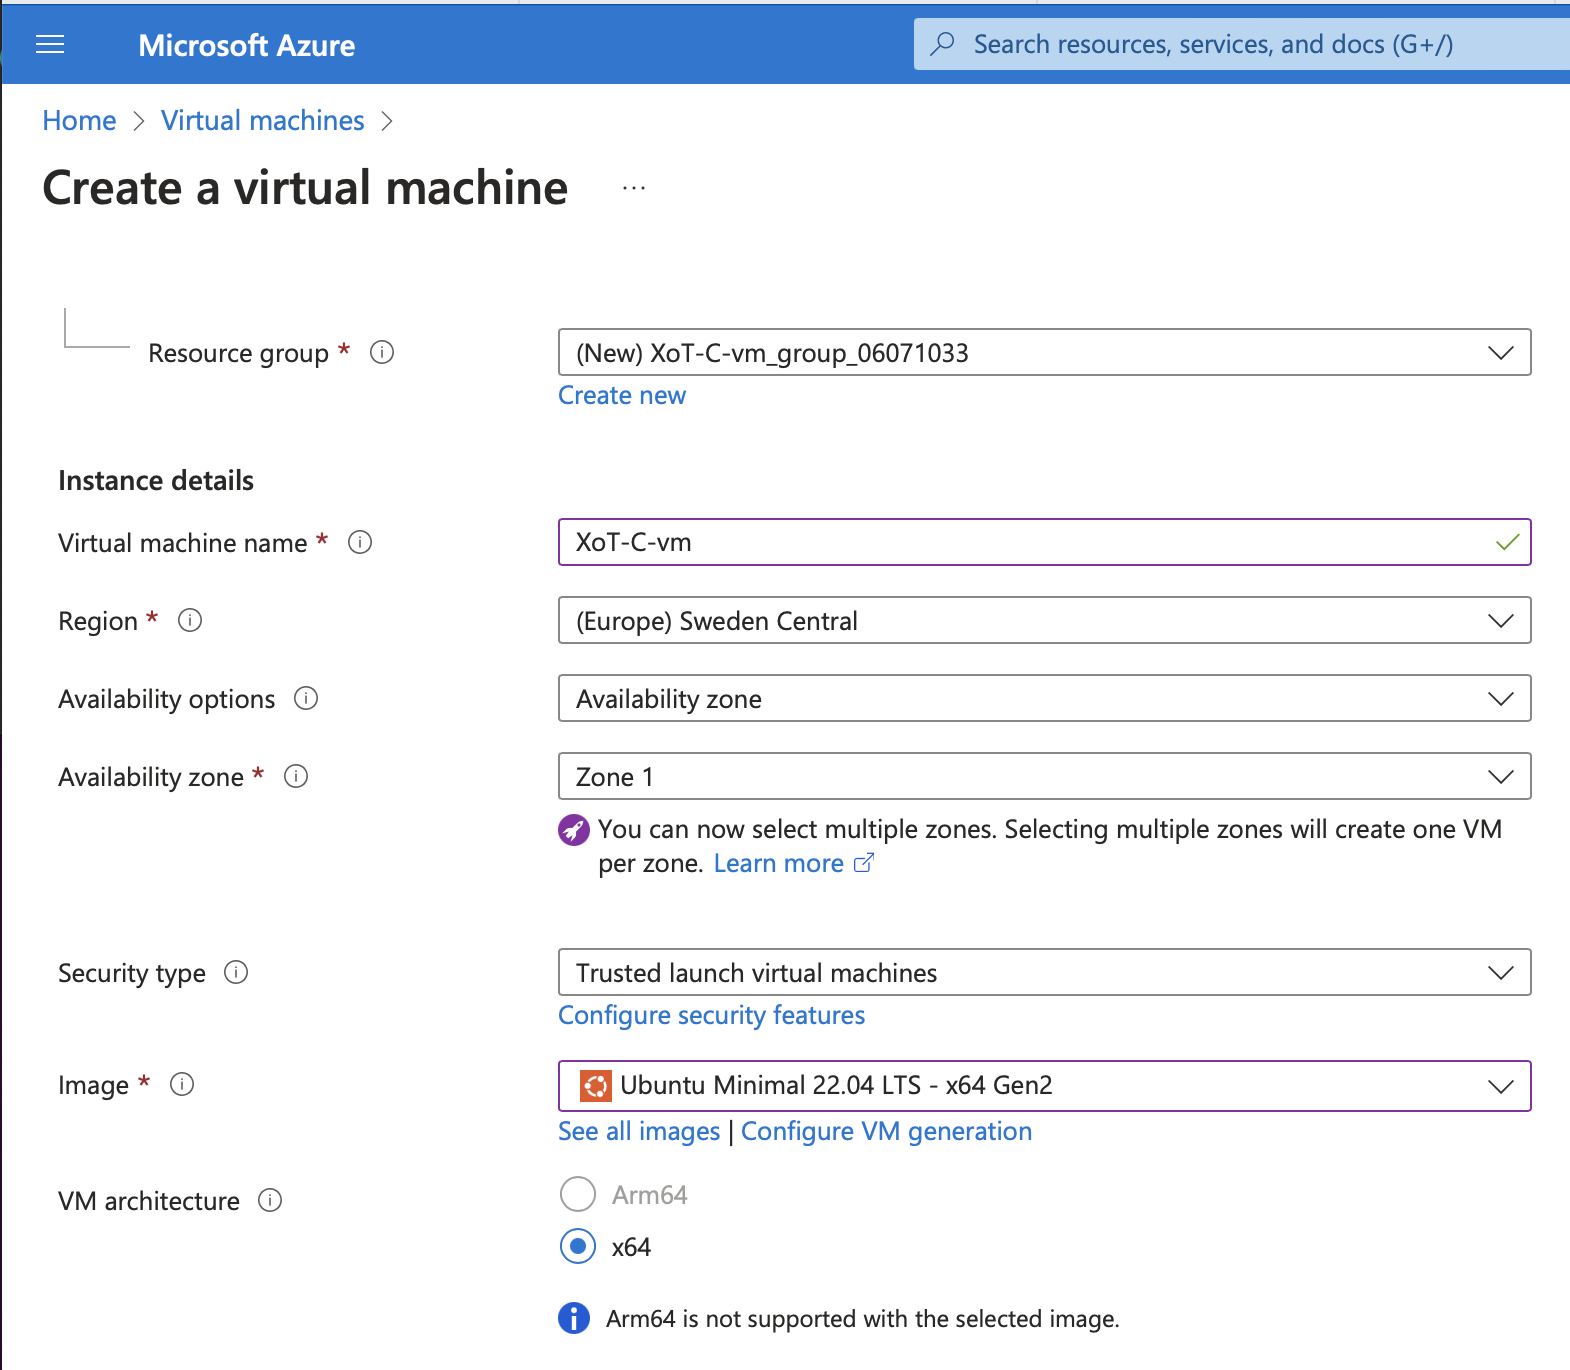
As or size, 2 cores and 2GB of RAM with a 16GB disk are the requirements. In the guide, we choose the "Standard_B2s" size.

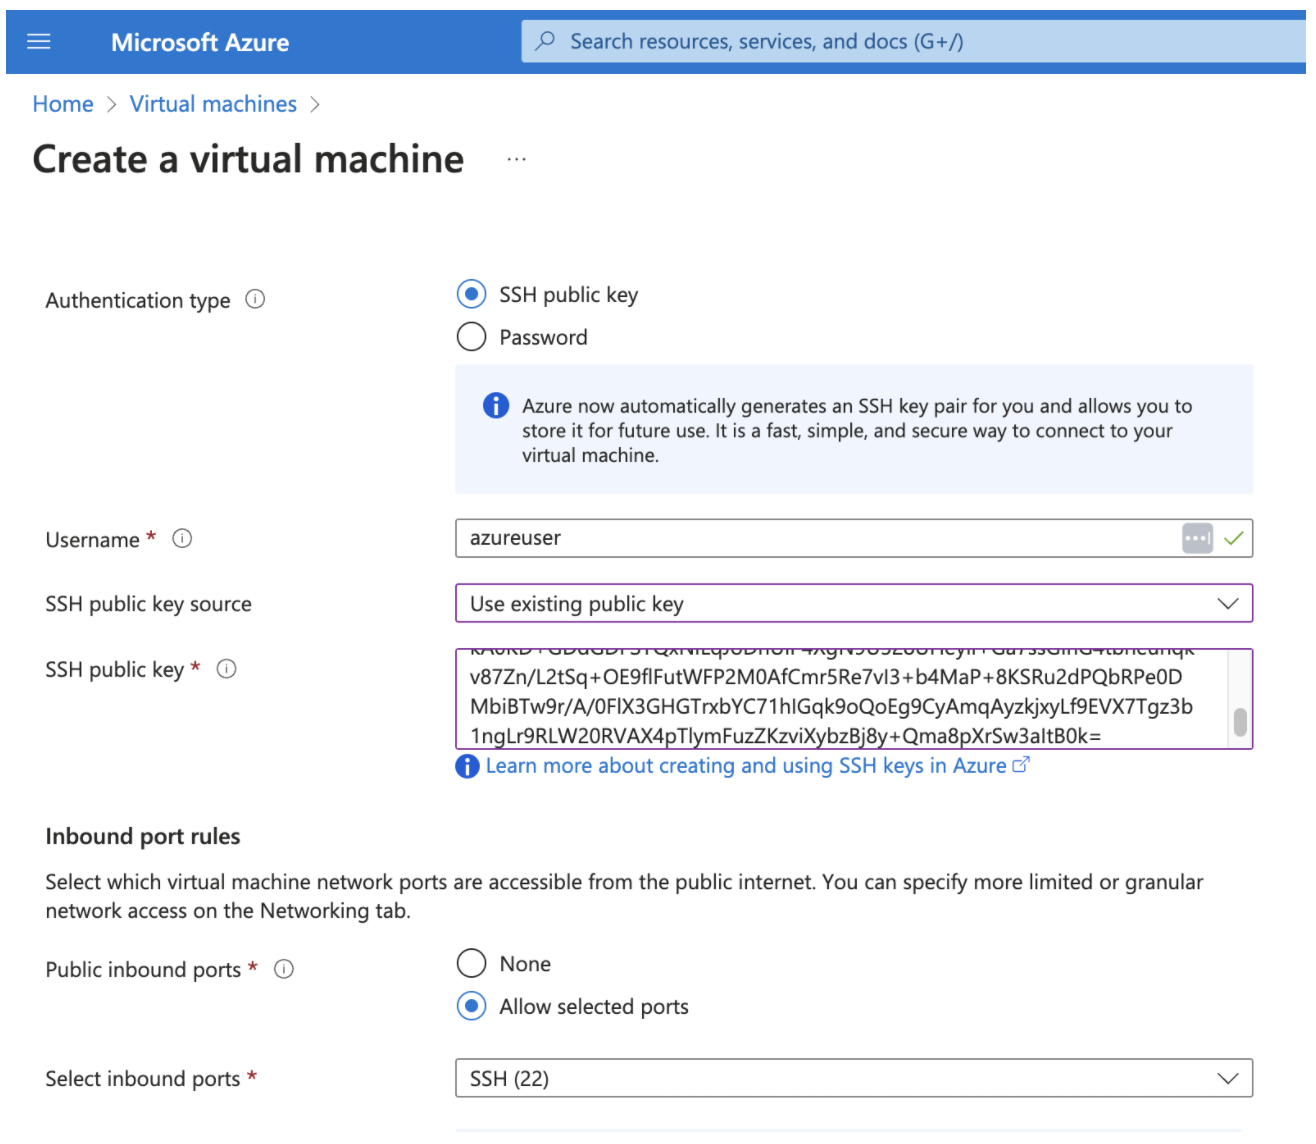
To access your VM for installation of the XoT software, you may choose to paste a Public key from your own computer that you have already created. Choose what is best for you.
The default Azure firewall settings (shown below) allows SSH access from the internet from anywhere. This allows installing the XoT from outside your Cloud provider. We will add more ports later for the XoT application to function properly.
You may edit the other tabs at the top of the section screen, but you can also just click "Review+Create" at this stage. You should get a nice green colored text saying "Validation passed" with pricing. Now click "Create".
Your VM will now begin the creation with a private IP and a Public IP attached to that private IP. These IPs will give you access to the VM using SSH.
When the "Deployment in progress" message turns into "Your deployment is complete" click the button "Go to resource".
On the upper right-hand side of the screen you should see the public IP assigned to this VM. Record it/Copy it into your clipboard for later.
We will add a second network interface to the VM, but first, we will access the VM and do some additional tasks.
Log in to your VM
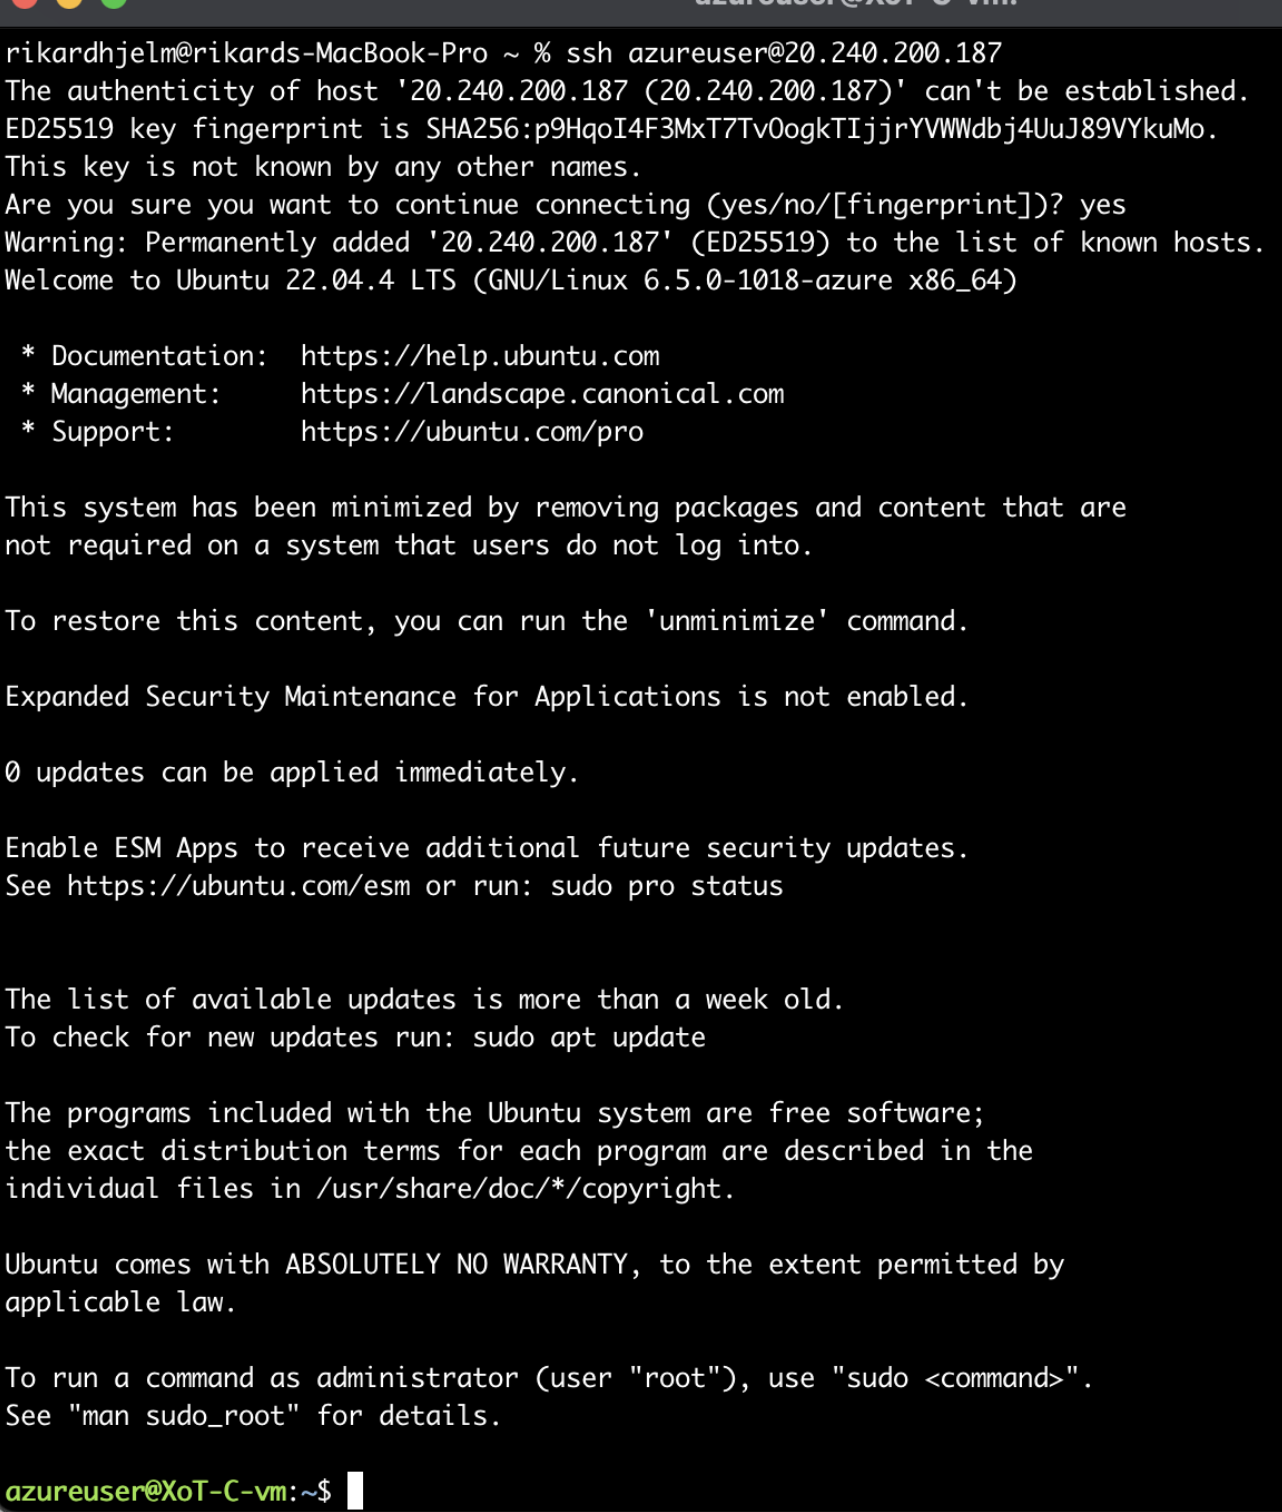
Log in using SSH to the public IP. If you chose the defaults from earlier you will have a user on the Ubuntu system called "azureuser". If you also pasted a public key as mentioned, you should be able to open an SSH session into the system using the user "azureuser" with the public IP you will find on the main screen of your new VM.
ssh azureuser@<insert public IP here>
Here is a screenshot from a macOS PC where a successful login has taken place:
Tip: Set a password on the "azureuser" with:
sudo passwd azureuser
You may as well do an "apt update" while we are here.
Type:
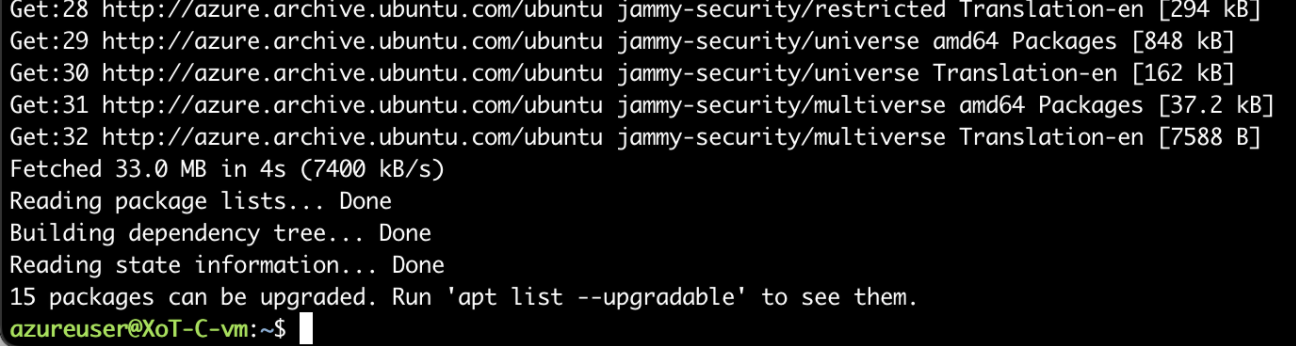
sudo apt update
And you will get an output similar to this:
Now, upgrade your system with the latest patches like this:
sudo apt upgrade -y
Answer any question that might pop up and "sudo reboot" after done. If the system asks which services to restart, this does not matter as we will reboot anyway. Just choose something.
Install Azure Walnut Linux Agent
It's recommended to install the Linux Agent for Azure. (See more info here Azure Linux VM Agent overview - Azure Virtual Machines | Microsoft Learn and installation here Update the Azure Linux Agent from GitHub - Azure Virtual Machines | Microsoft Learn.
sudo apt install walinuxagent
Shut off your VM
sudo poweroff
Create a network
If you do not have a Virtual Network, one must be created. From this, we will create a subnet for our use.
Create subnet
Go to the Azure portal home page and search for "Virtual Networks", click it, and choose your existing Virtual network to create a subnet from or click an existing network. Here, our Virtual Network is called "XoTv3-vnet".
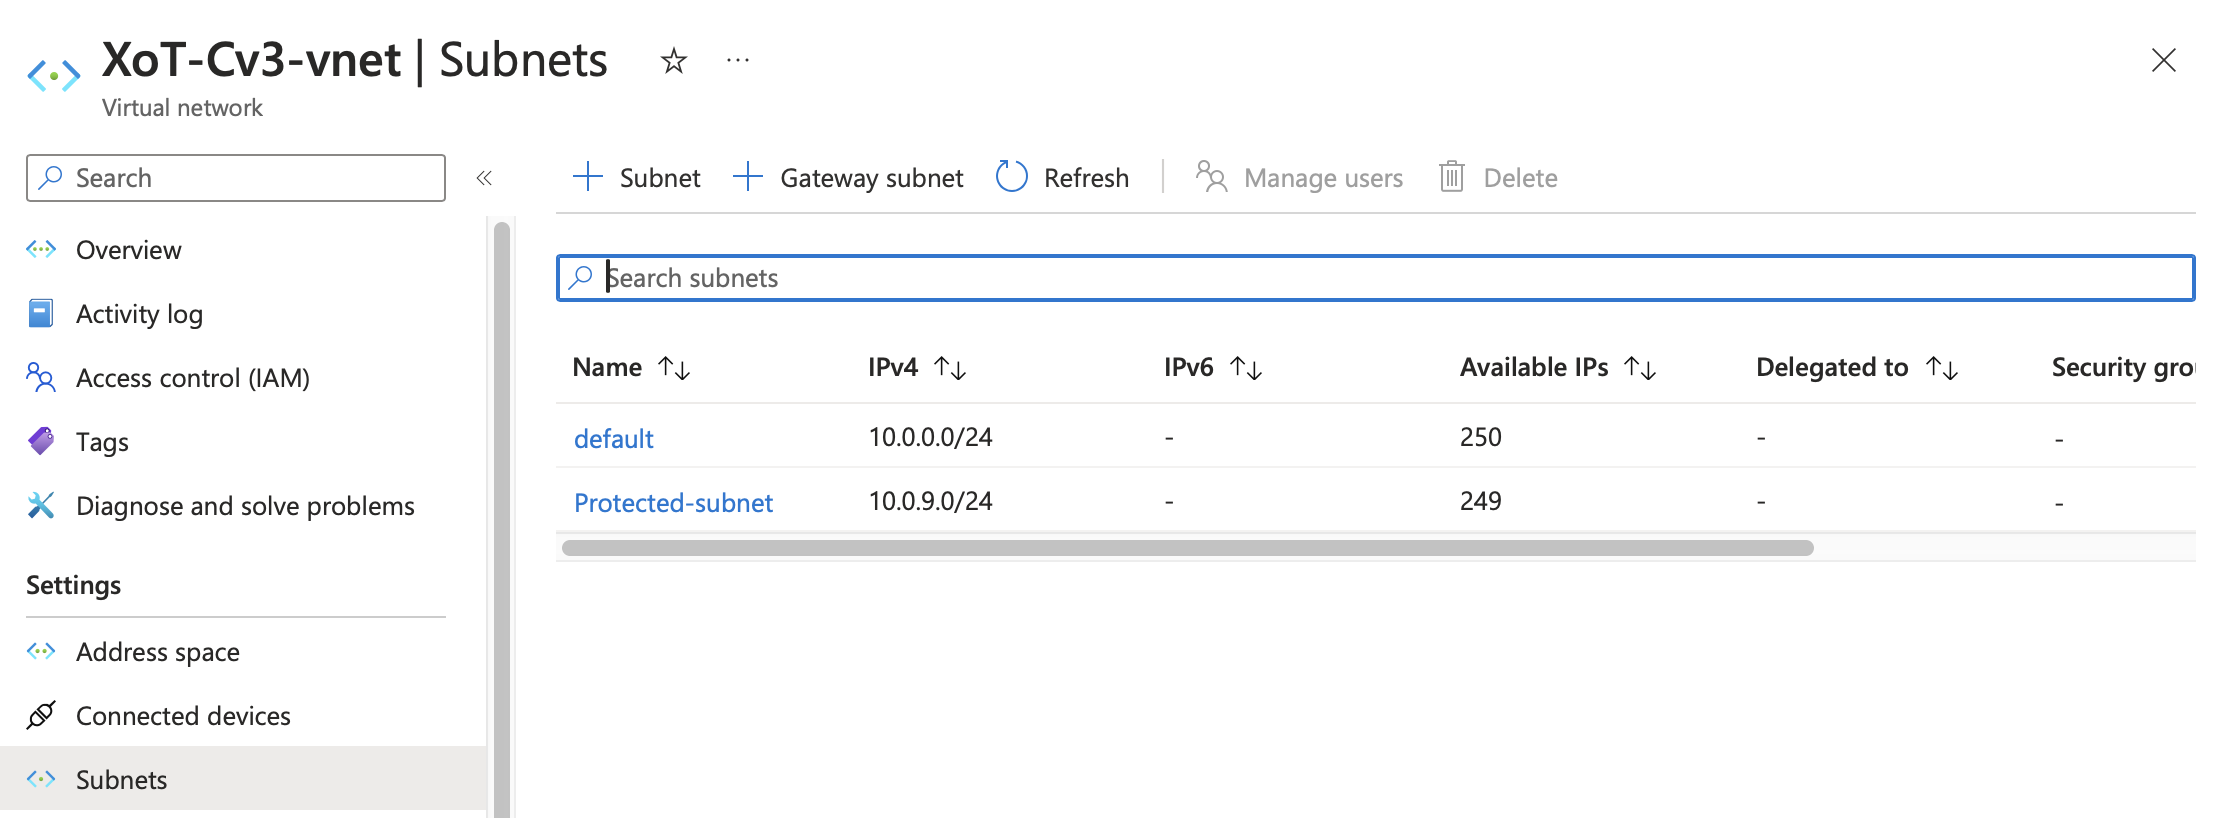
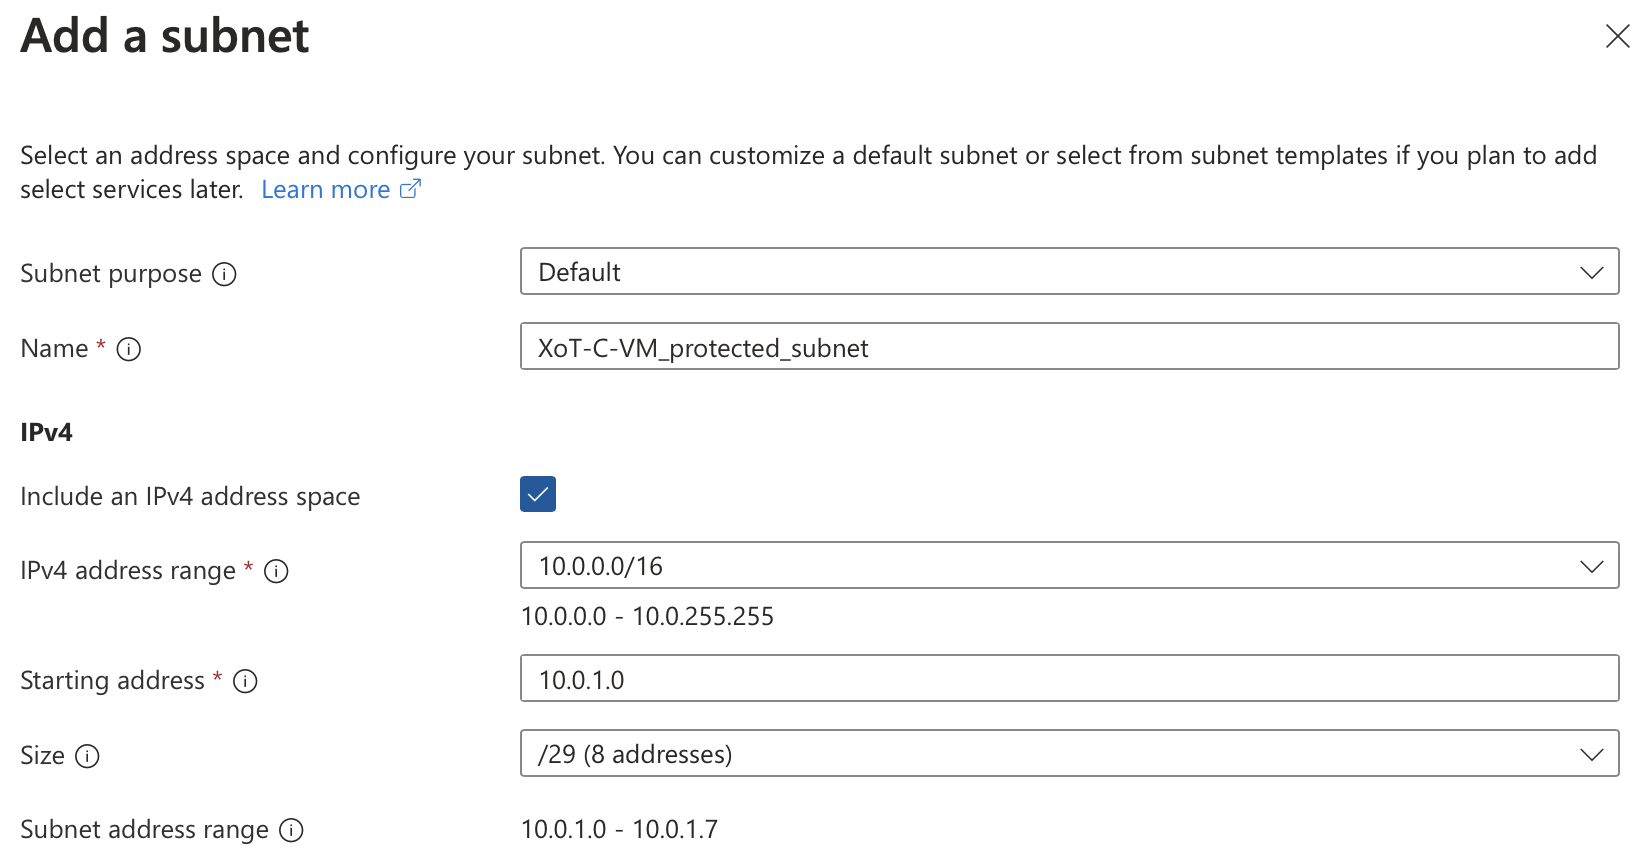
Click on "Subnets" on the left menu and click the "+ Subnet" button on the top, choose from what "range" you want to create the subnet from and fill out your starting address. Click "Add" at the bottom when done.
Here is an example:
Create the NIC
Go back to your virtual machine in Azure and click on it to get the Overview page.
Click "Stop" and deallocate the server.
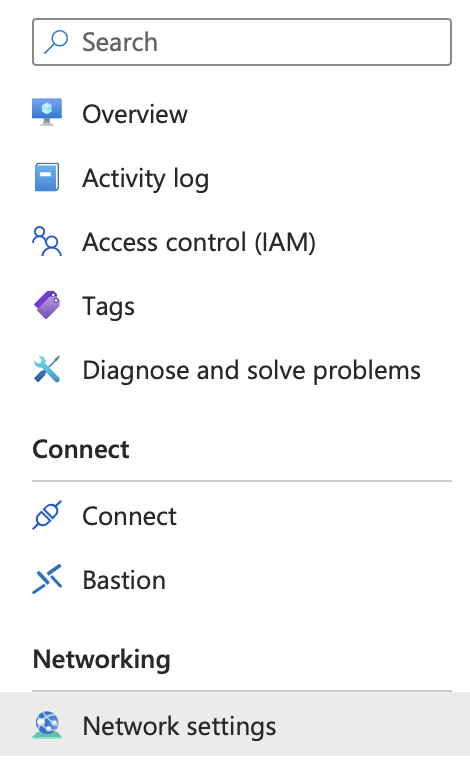
Now, choose "Network settings" in the left menu:
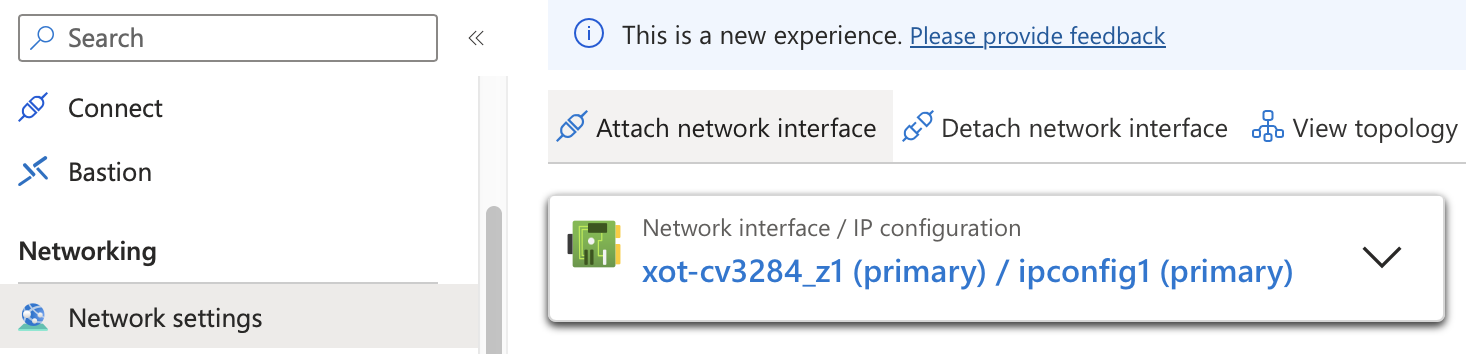
Click "Attach network interface".
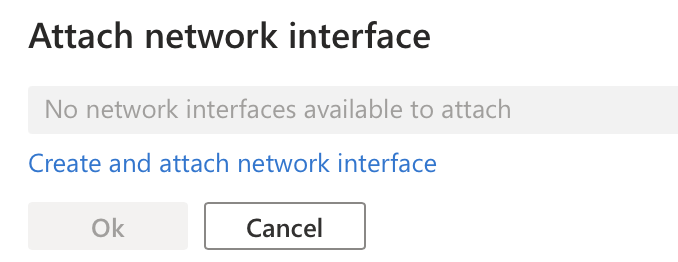
Click "Create and attach network interface".
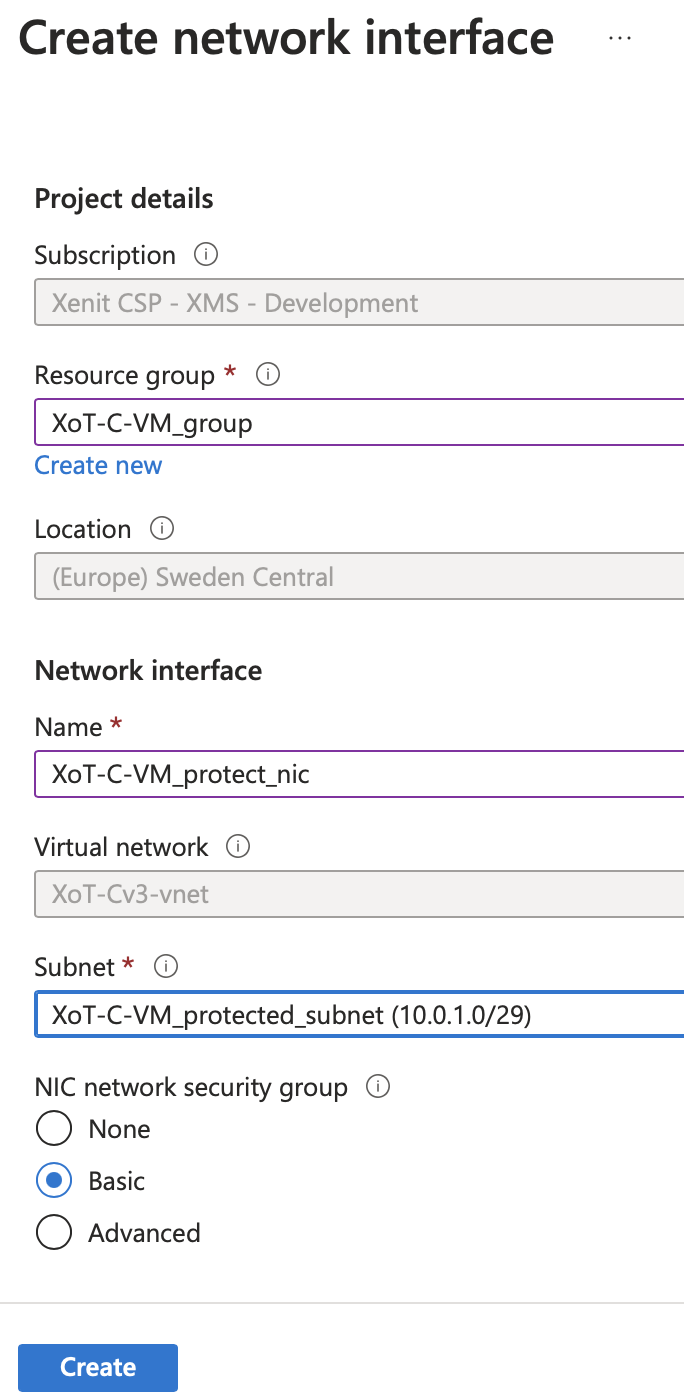
Choose the resource group that your VM is part of. Give the network interface a name and choose the subnet that we just created, and click "Create".
Turn on the Virtual Machine
In the Azure Portal, navigate to your VM, click Overview, and click Start.
Configure the network interfaces
Now go back to the Overview page of your Virtual Machine and click "Start". Wait for the public IP to reveal itself. It might take some minutes.
Once the VM is started, open an SSH session to the VM.
ssh azureuser@<public IP from overview page>
Check that you have 2 network interfaces.
ip ad
The interfaces would be called eth0 and eth1.
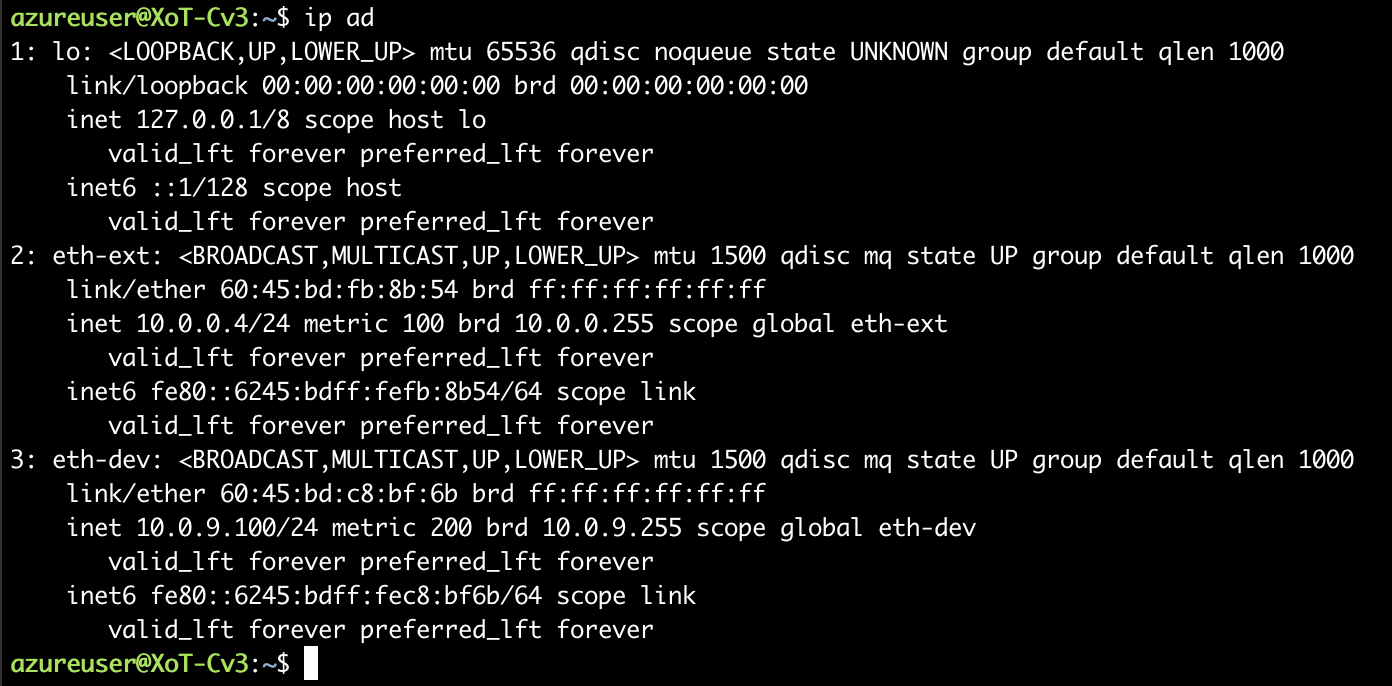
Now, change those interfaces so that the "xotd" process can find them and use them.
Edit the original 50-cloud-init.yaml file:
sudo nano /etc/netplan/50-cloud-init.yaml
Change the names of the interface "eth0" to "eth-ext" and "eth1" to eth-dev". It should look similar to this but different MAC addresses.
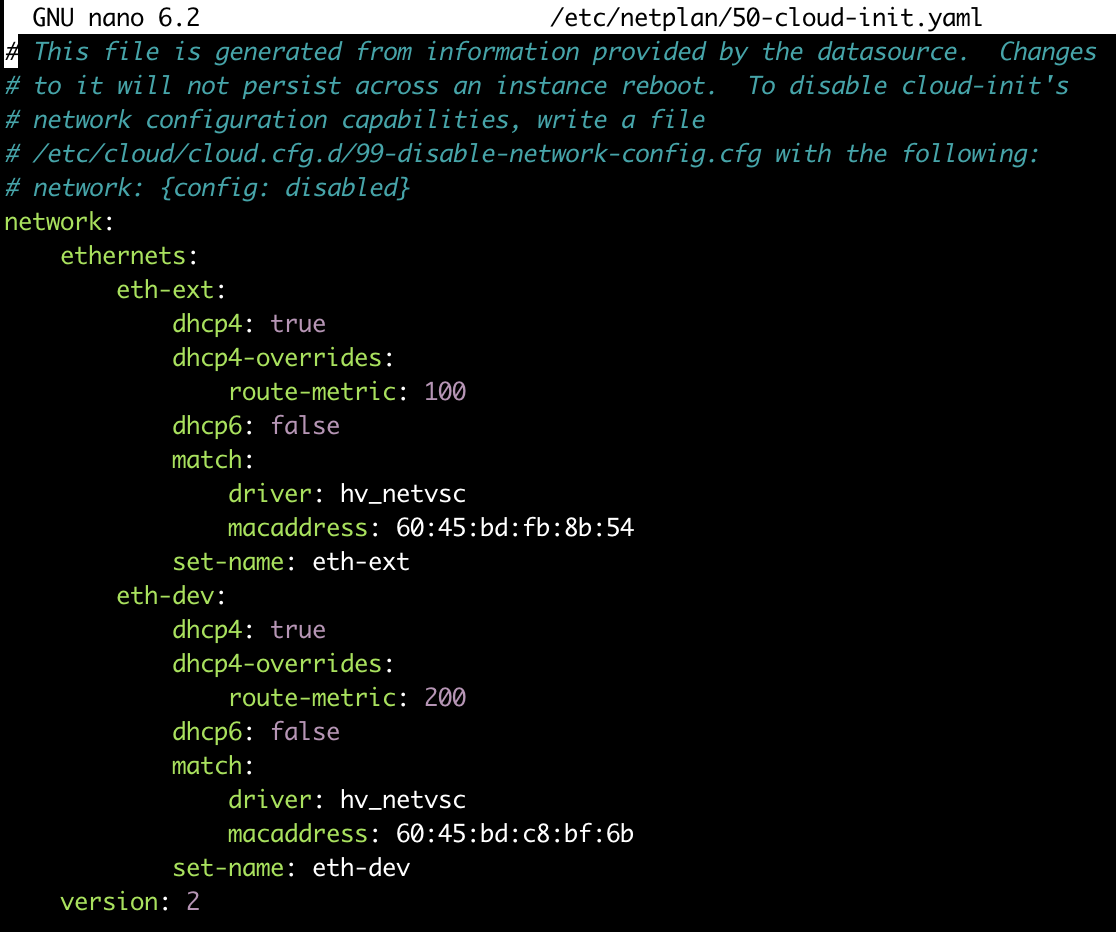
When done, use Ctrl+x and answer yes to save and quit from Nano.
Activate our changes by letting Netplan do a "try". "Try" means that if you lose connectivity when activating the new settings, Netplan will revert to the old settings after 2 minutes.
sudo netplan try
If you see a countdown timer, hit Enter, and you have succeeded with your changes.
Type:
ip ad
And you should get an output similar to this, but with other MAC and IP addresses:
Firewall Security
Securing access to the XoT
For security purposes, it is highly recommended to close the ability to access the Virtual Machine via SSH or at least add access only for a specific source IP after installation of the XoT is completed.
We may need to configure the incoming Firewall towards the Virtual Machines "eth-dev" interface for the XoT to function.
Firewall configuration for XoT production
We have two main ways for the XoT to be used.
-
As an XoT, where traffic is passed through an XoT-Bridge Rendezvous point (Installed separately).
-
As an XoT that is directly accessed by a client with no XoT-Bridge.
Deployment model 1
No extra incoming Firewall configuration needed.
Deployment model 2
This model needs incoming UDP ports to be opened permanently.
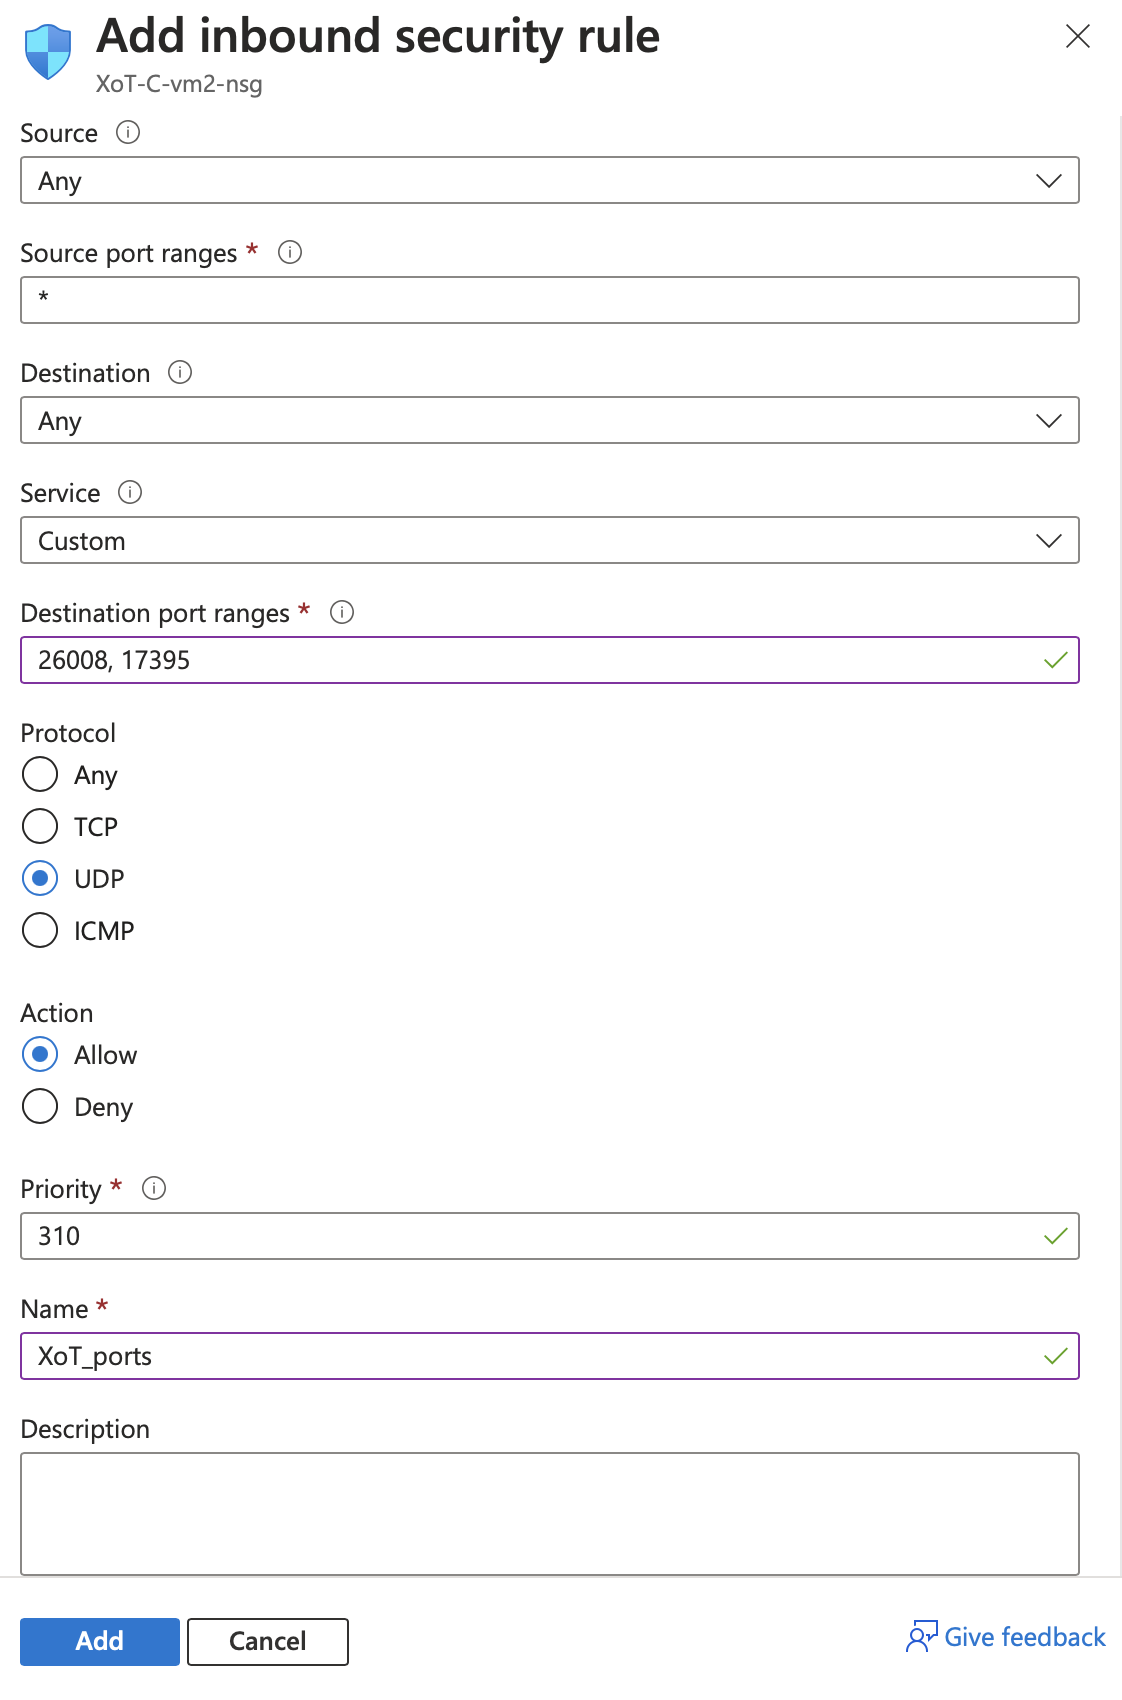
Incoming UDP ports used by the XoT without XoT-Bridge:
-
Access Requests on port 25006
-
WireGuard on port 17395
To set the Firewall, bring up your Virtual Machine page and select Network settings from the left menu. Now, scroll down to the configuration.
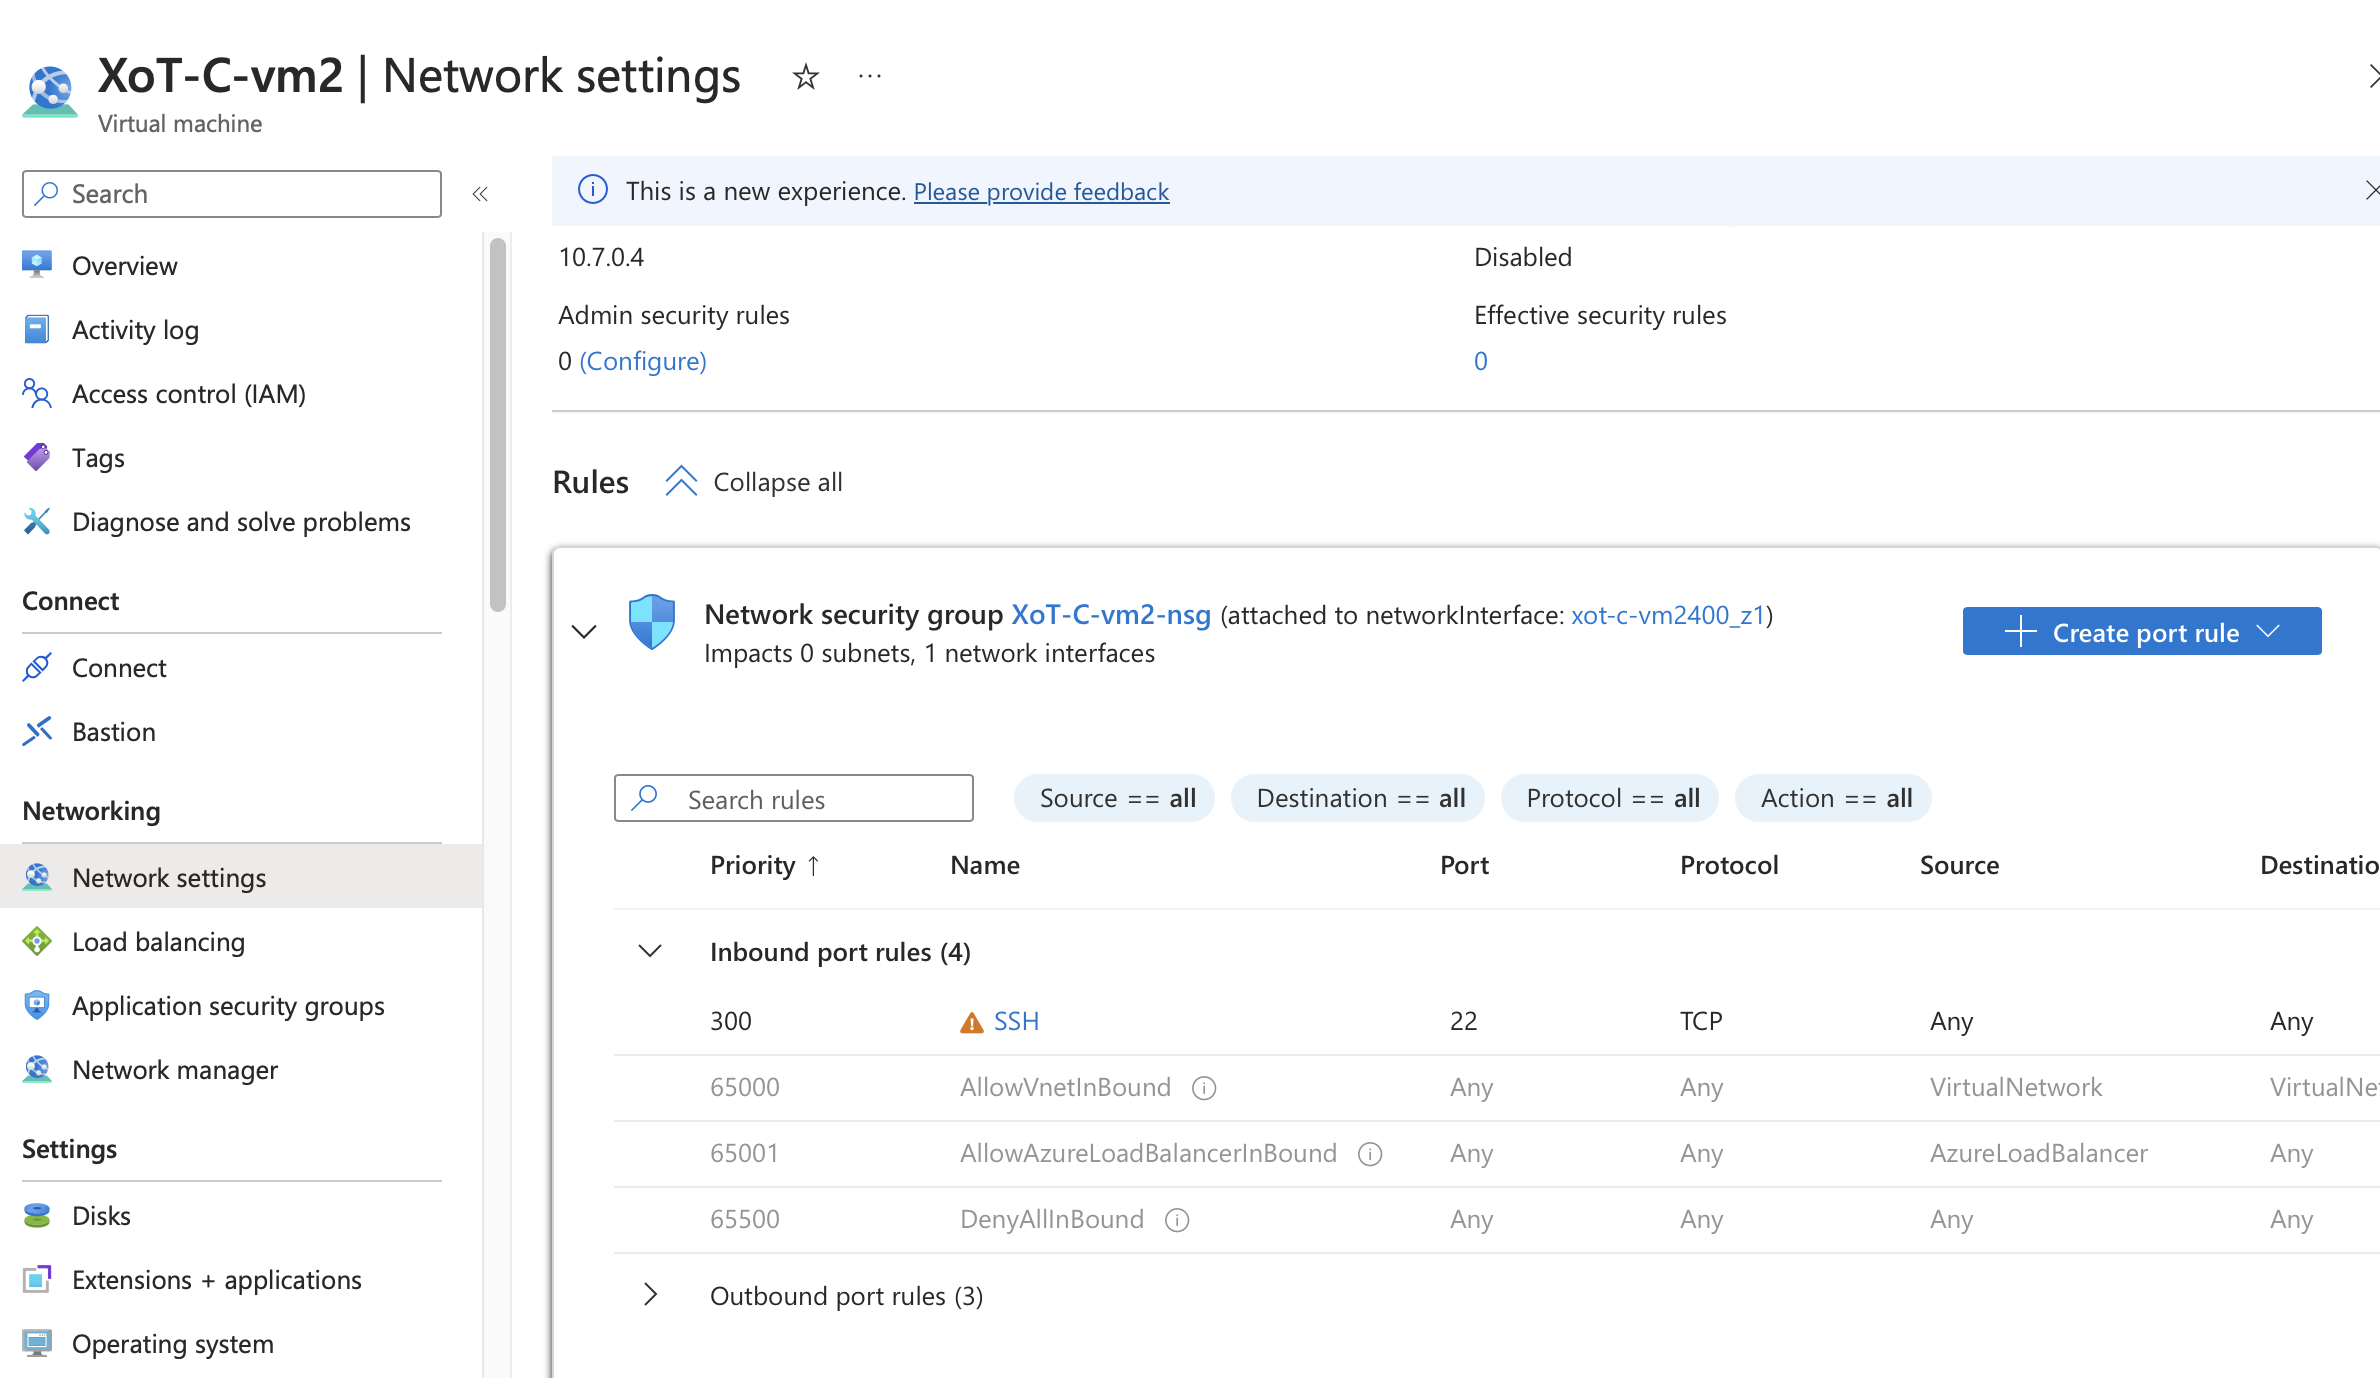
As you can see, SSH is enabled. If you wish to changer that setting, simply click the SSH text. Beware that you may lose SSH access to your VM if you are not careful here.
Add the extra UDP ports:
Click "Create port rule" and choose "Inbound port rule":
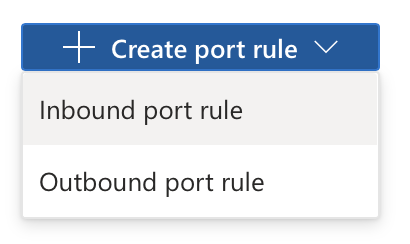
Fill out the rule as follows add click "Add". (If the auto-naming of the rule turns red, it may be because it has a comma "," in the name. Remove it.)
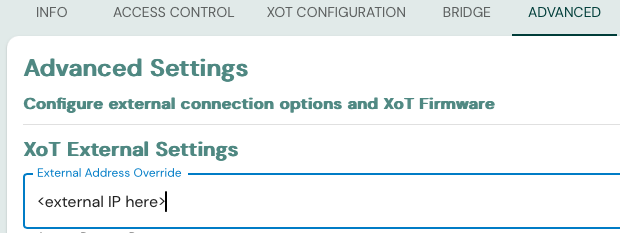
Deployment model 2 also needs the Public IP of the VM to be configured in the XMS under the Advanced Settings, Connection Settings, External Address Override for the XoT.
This can only be accessed after the XoT has been "Enrolled", which can be done after the XoT software has been installed.
Ready to install the XoT
Now you are ready to install the XoT using the XoT installation instructions.
Tip: Before installing the XoT software on your Linux machine, it's recommended to first verify connectivity to the resource that you are protecting, e.g. with ping, which will be connected on your "eth-dev" interface.